How to build a Product Slider
With the new Product Slider, you can showcase a handpicked selection of products that truly resonate with your audience, making every recommendation feel relevant and intentional. Transform casual browsing into an engaging experience with built-in search, smart filters, and clear next steps that guide users naturally. Everything your audience needs is right there - wishlist, add to cart, and checkout - designed to feel smooth and effortless. Plus, gain valuable insights by tracking views, clicks, and intent signals, helping you better understand what your audience is looking for.
Follow the steps below to create your first Product Slider:
1. Add your products
Import from CSV or a data feed, or add them manually inside the platform. Check our tutorial on How to create or upload your Data Source for additional details.
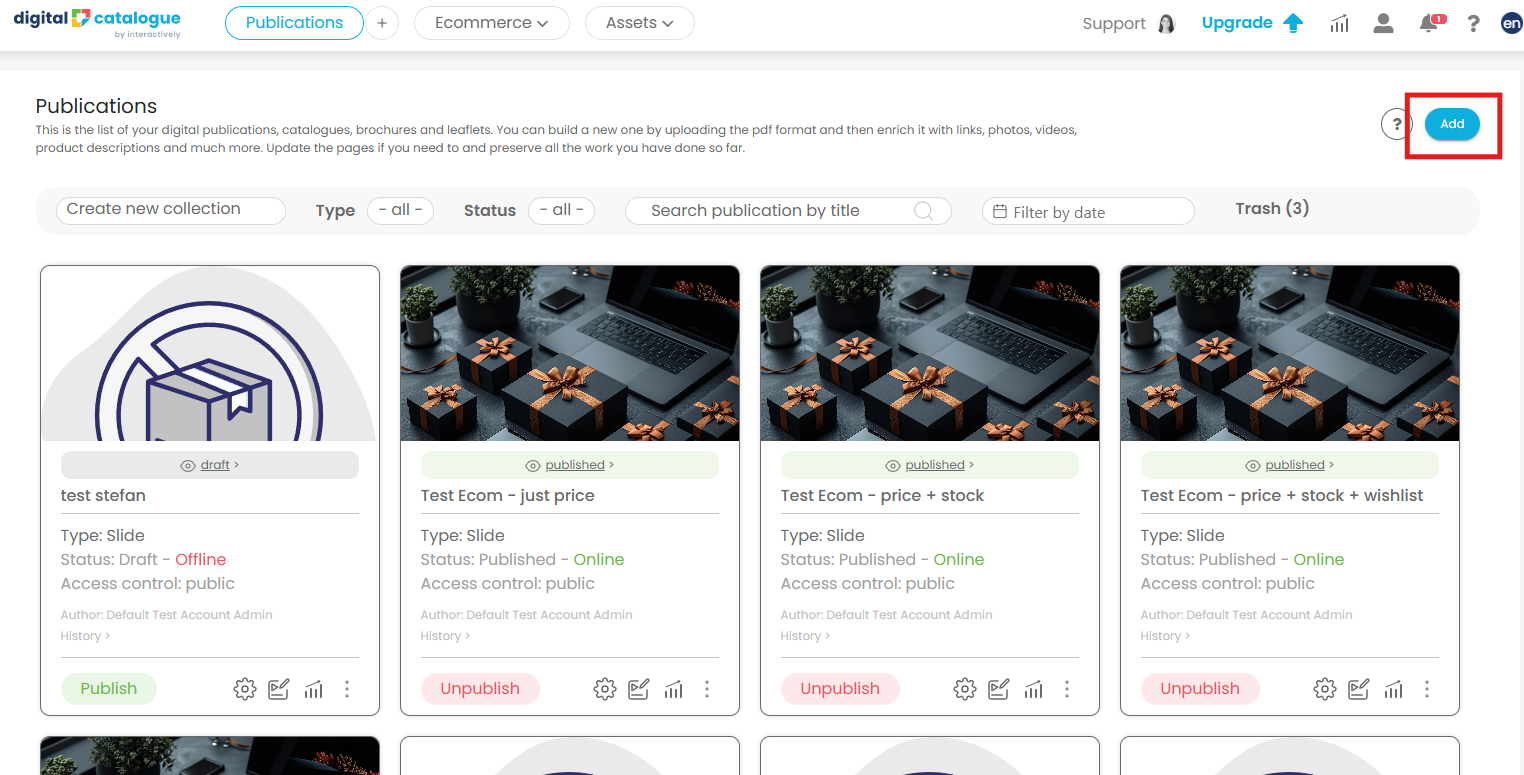
2. Click the Add button in your publication list.
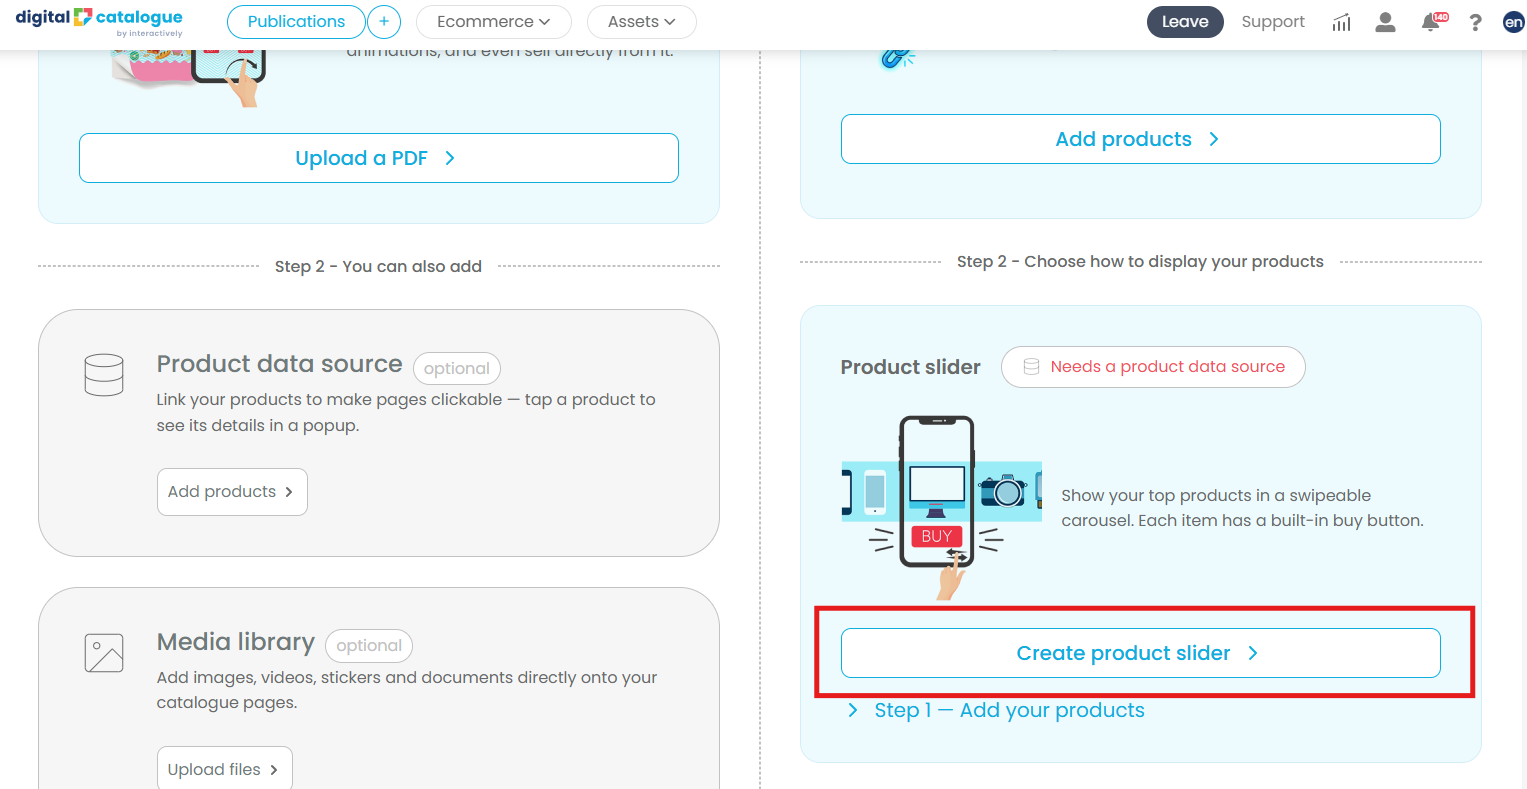
Then, in the right-side panel where your product data is shown, navigate to Product Slider and select Create Product Slider.
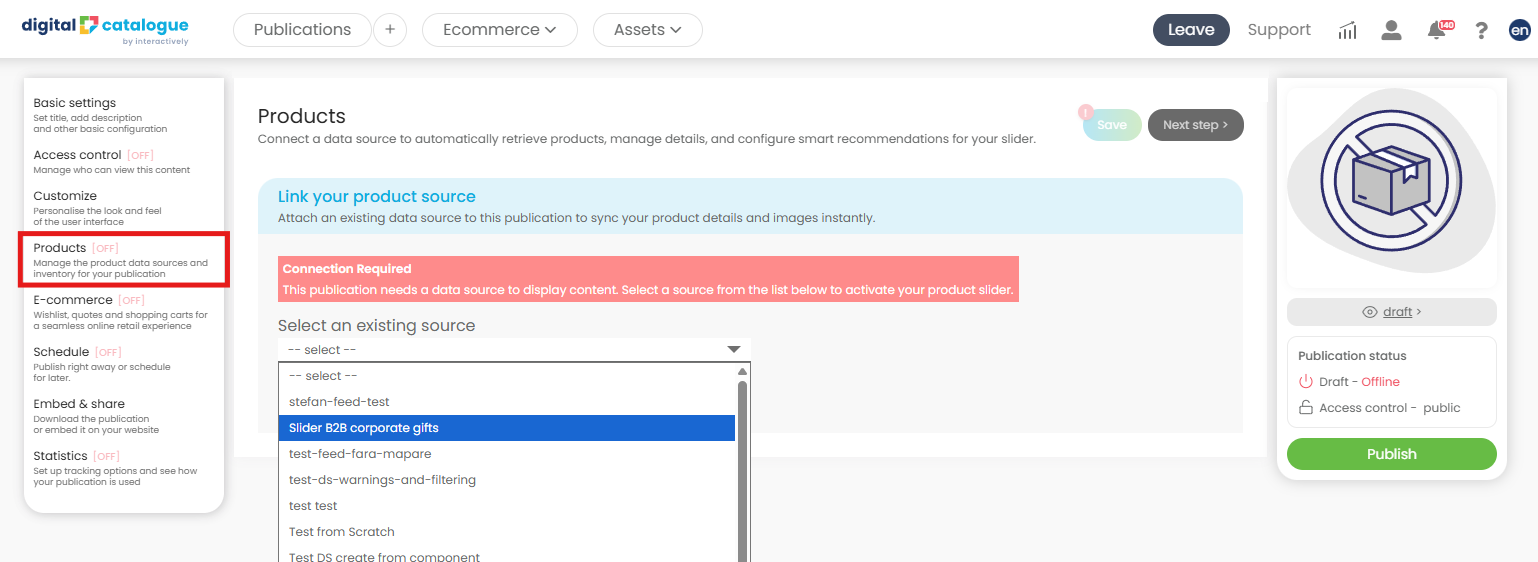
3. You will then be redirected to the Products section, where you can connect your data source (product feed) and select the products you want to include.
From there, you can create custom product subsets by applying filters based on categories, product IDs, or price ranges. You can either start with an empty list and define rules to include only specific products, or begin with your full product data and remove the items you don’t need.
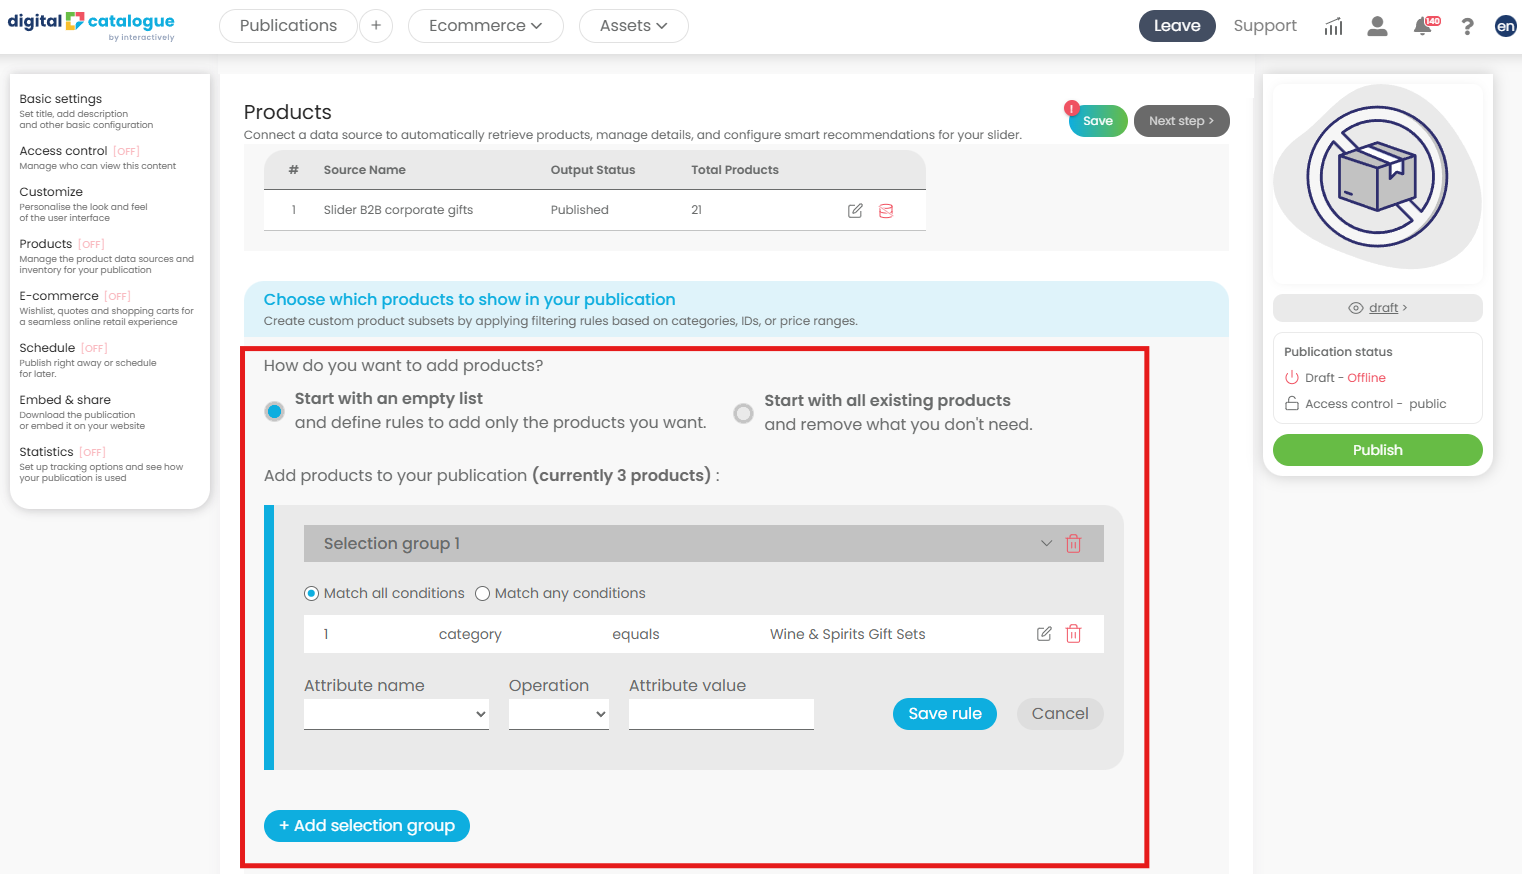
In product subsets, “Match all conditions” and “Match any conditions” define how your filtering rules are applied.
Match all conditions (AND logic)
A product must meet every condition you set to be included in the subset.
- Example:
Category = “Shoes”
Price < 100
Only shoes under 100 will be included.
Match any conditions (OR logic)
A product is included if it meets at least one of the conditions.
- Example:
Category = “Shoes”
Price < 100
Includes all shoes, plus any other products under 100, even if they aren’t shoes.
In short:
- All = stricter filtering (more precise, fewer products)
- Any = broader filtering (more flexible, more products)
Make sure you save your settings.
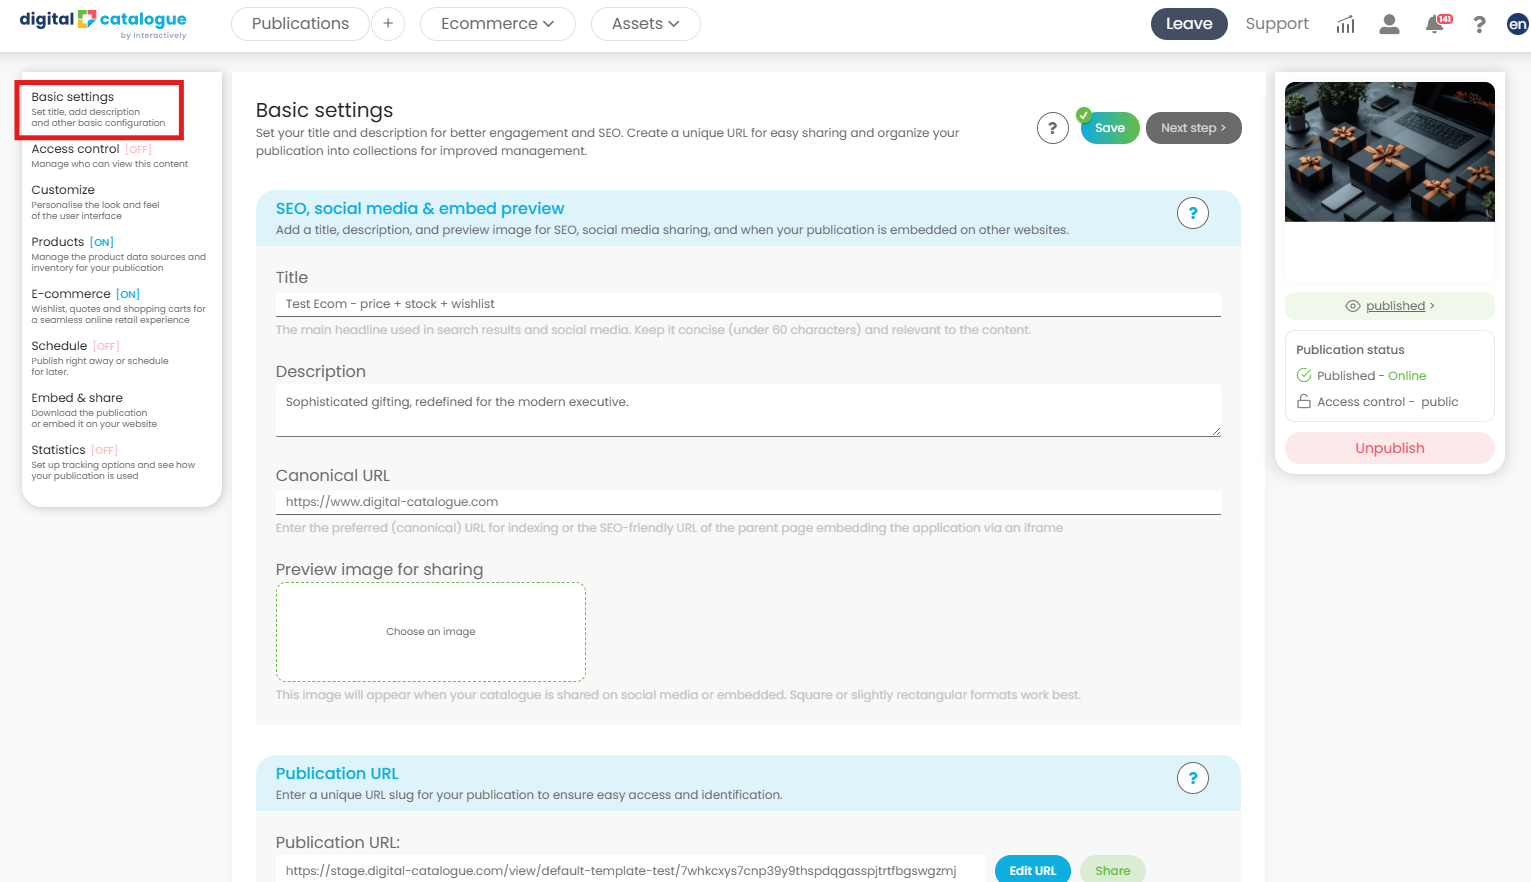
4. Add basic settings. In the left-side menu click on Basic settings and set your title and description for better engagement and SEO. Create a unique URL for easy sharing and organize your publication into collections for improved management.
Check our tutorials on How to add a canonical URL for your publication and Group your catalogues into collections to keep your content organized.
Make sure you save your settings.
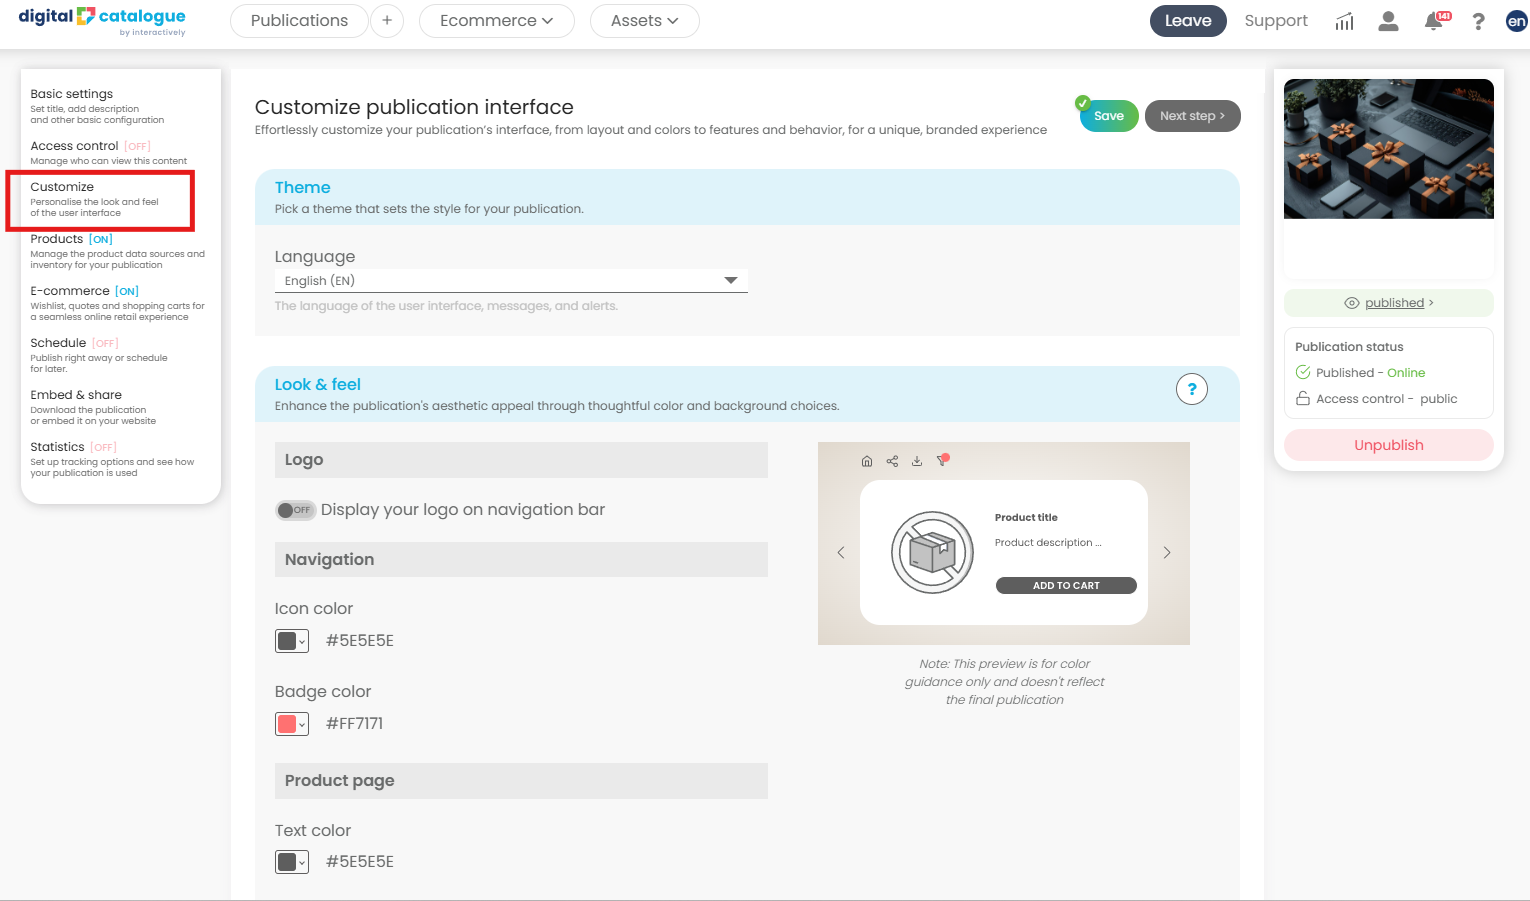
5. Customize the experience. In the left-side menu, click Customize to define the look and feel of your slider. Enhance its visual appeal by adjusting colors and background, and optionally add a logo and a cover image.
In the Interactive features section, enable tools like wishlist and share to improve user engagement. You can also select the navigation type for your slider and choose the page transition style, such as horizontal or vertical sliding.
Make sure you save your settings.
At this point, everything is set up and you’re ready to go live! The next step is to publish your slider and share it with your audience.
You can always come back and edit your content at any time if needed.
For more details about the other options available in the left-side menu, check our tutorial page.