Keep all your media files in one place
The Media Library serves as a centralized hub for managing all your images, videos, and documents. It provides a convenient and organized location where you can easily store and access your media assets, saving you time and effort in managing your content.
You can access the Media Gallery from the top menu.
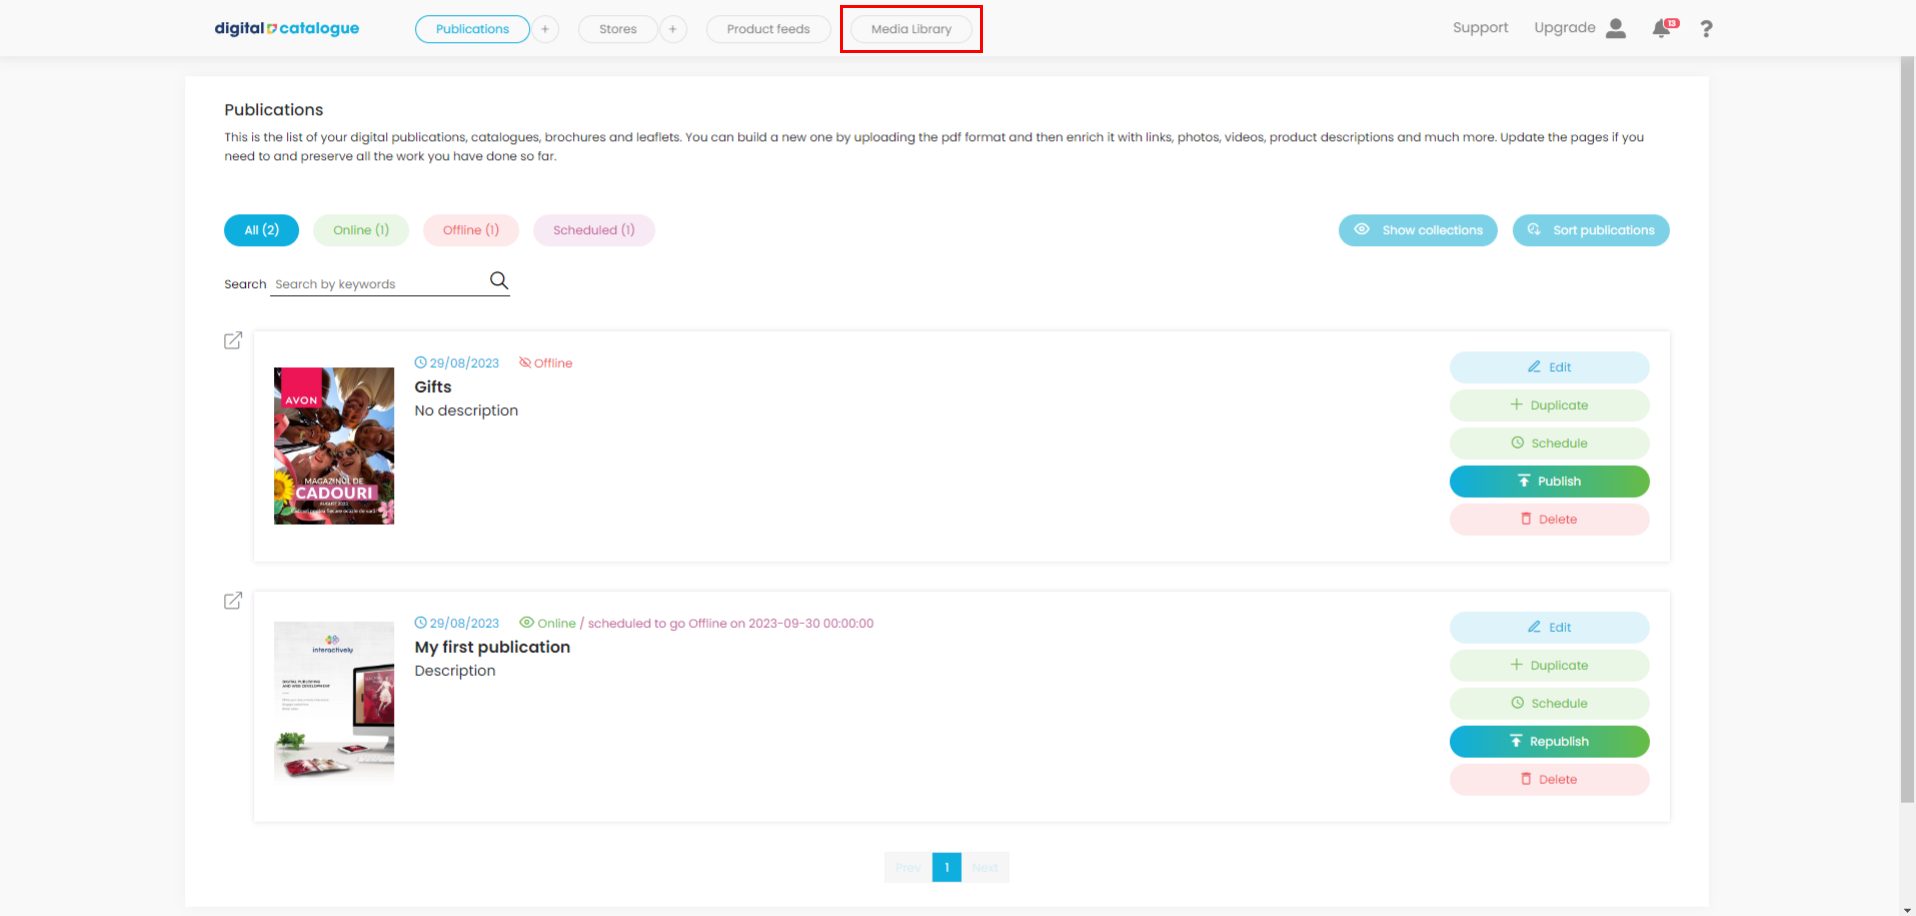
How to add files to your Media Library.
There are two ways to add files:
- You can upload them directly in the Media Library.
- You can upload them from the Links and Media section as you add additional content to a specific Digital Catalogue.
1. Upload files from your computer directly in the Media Library
If you are just starting up your Media Library will be empty.
To add files, click on Upload. A popup will appear allowing you to choose the files you want to upload.
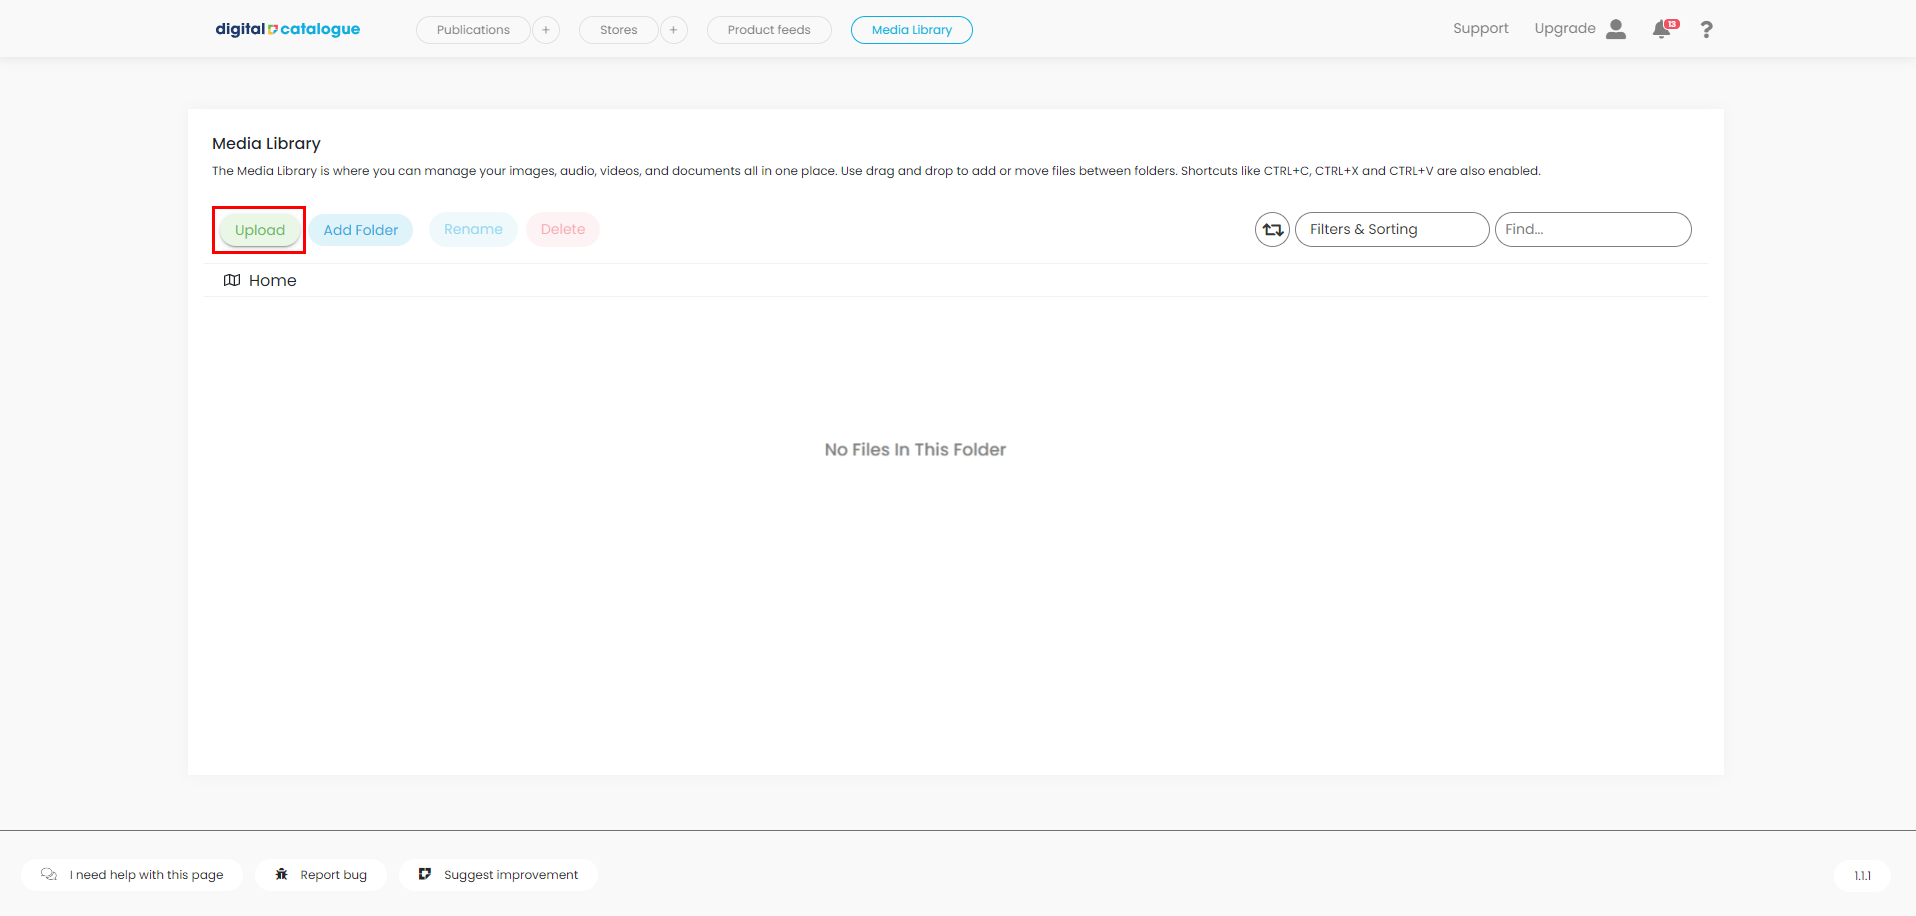

You can also add files by simply dragging and dropping them.
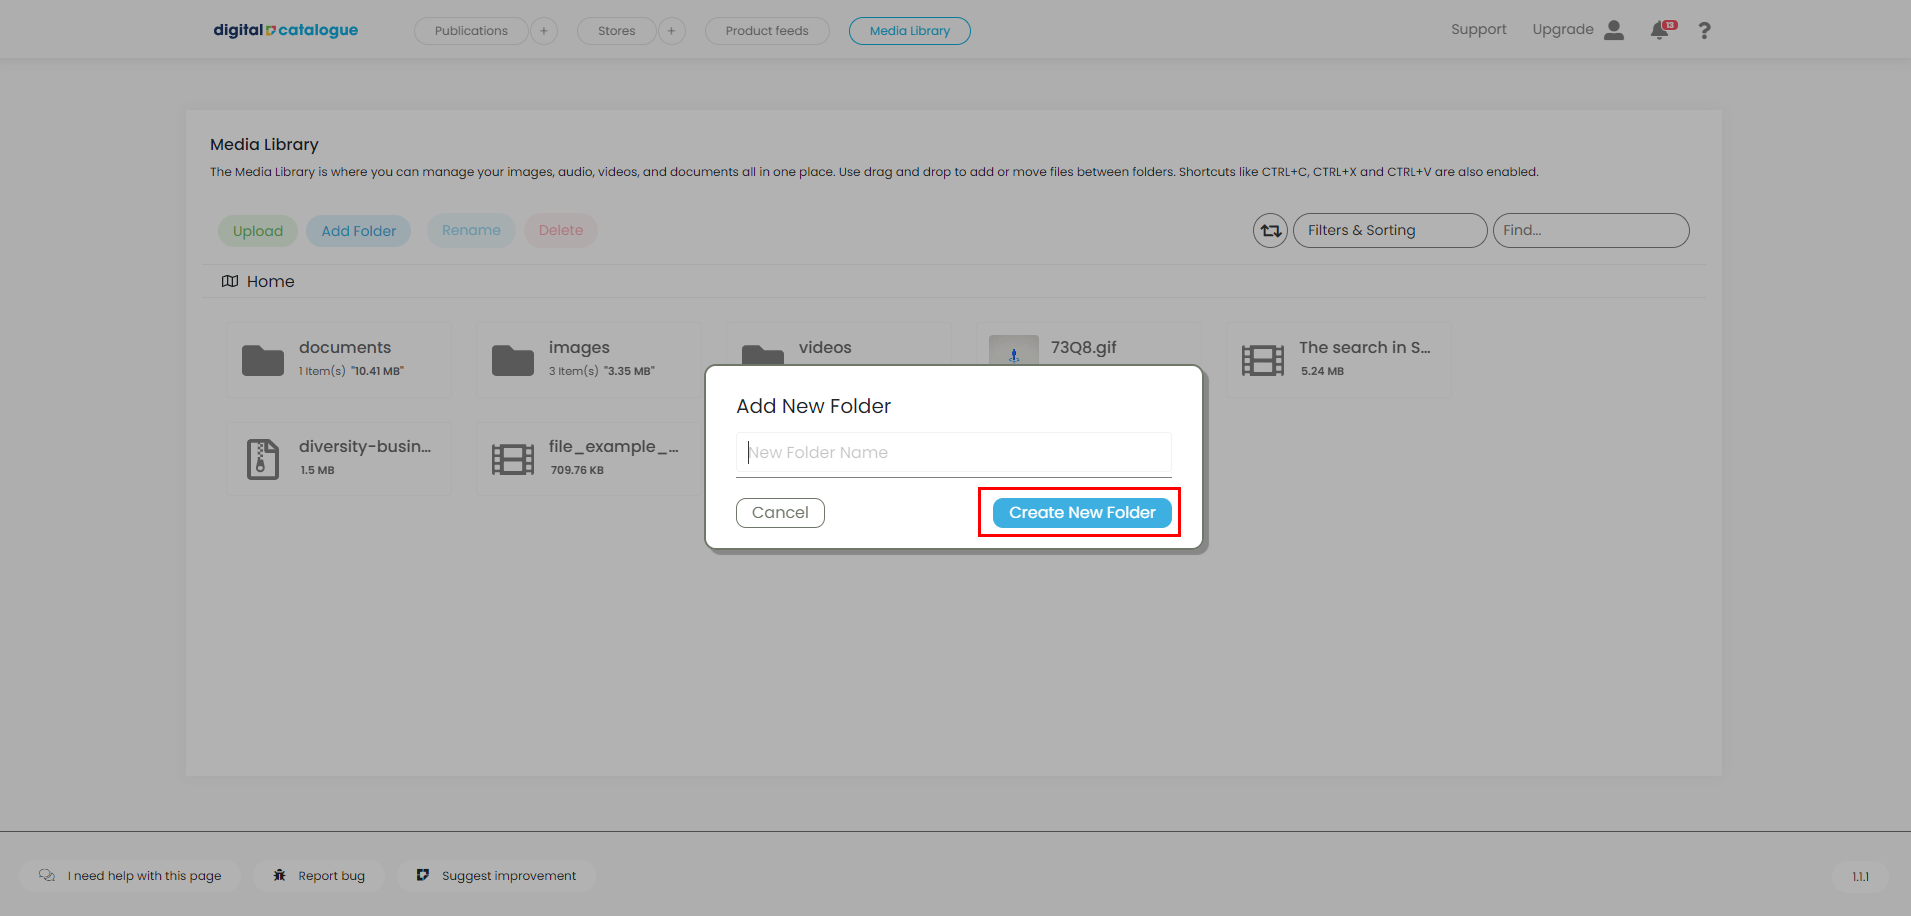
You can add folders to keep your content organized. To add a folder click on "Add new folder", type in the name and click "Create". You can then start adding content directly in this folder.

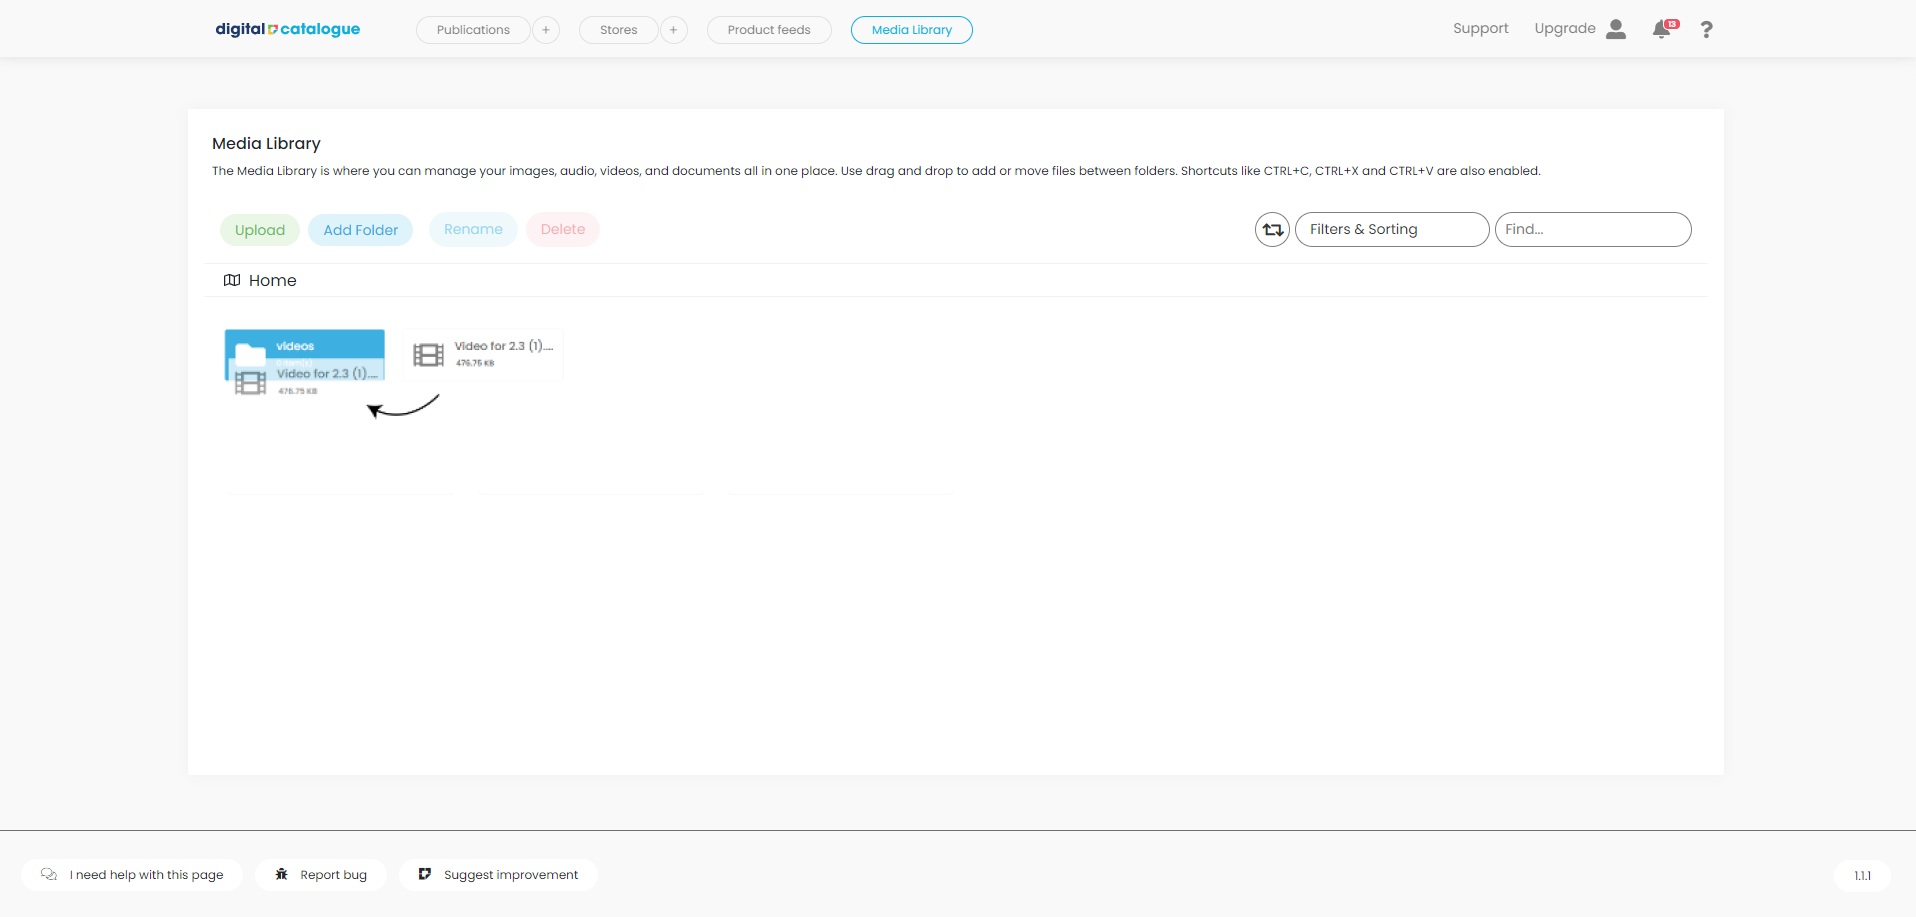
You can also move files already uploaded into a new folder by dragging and dropping them.
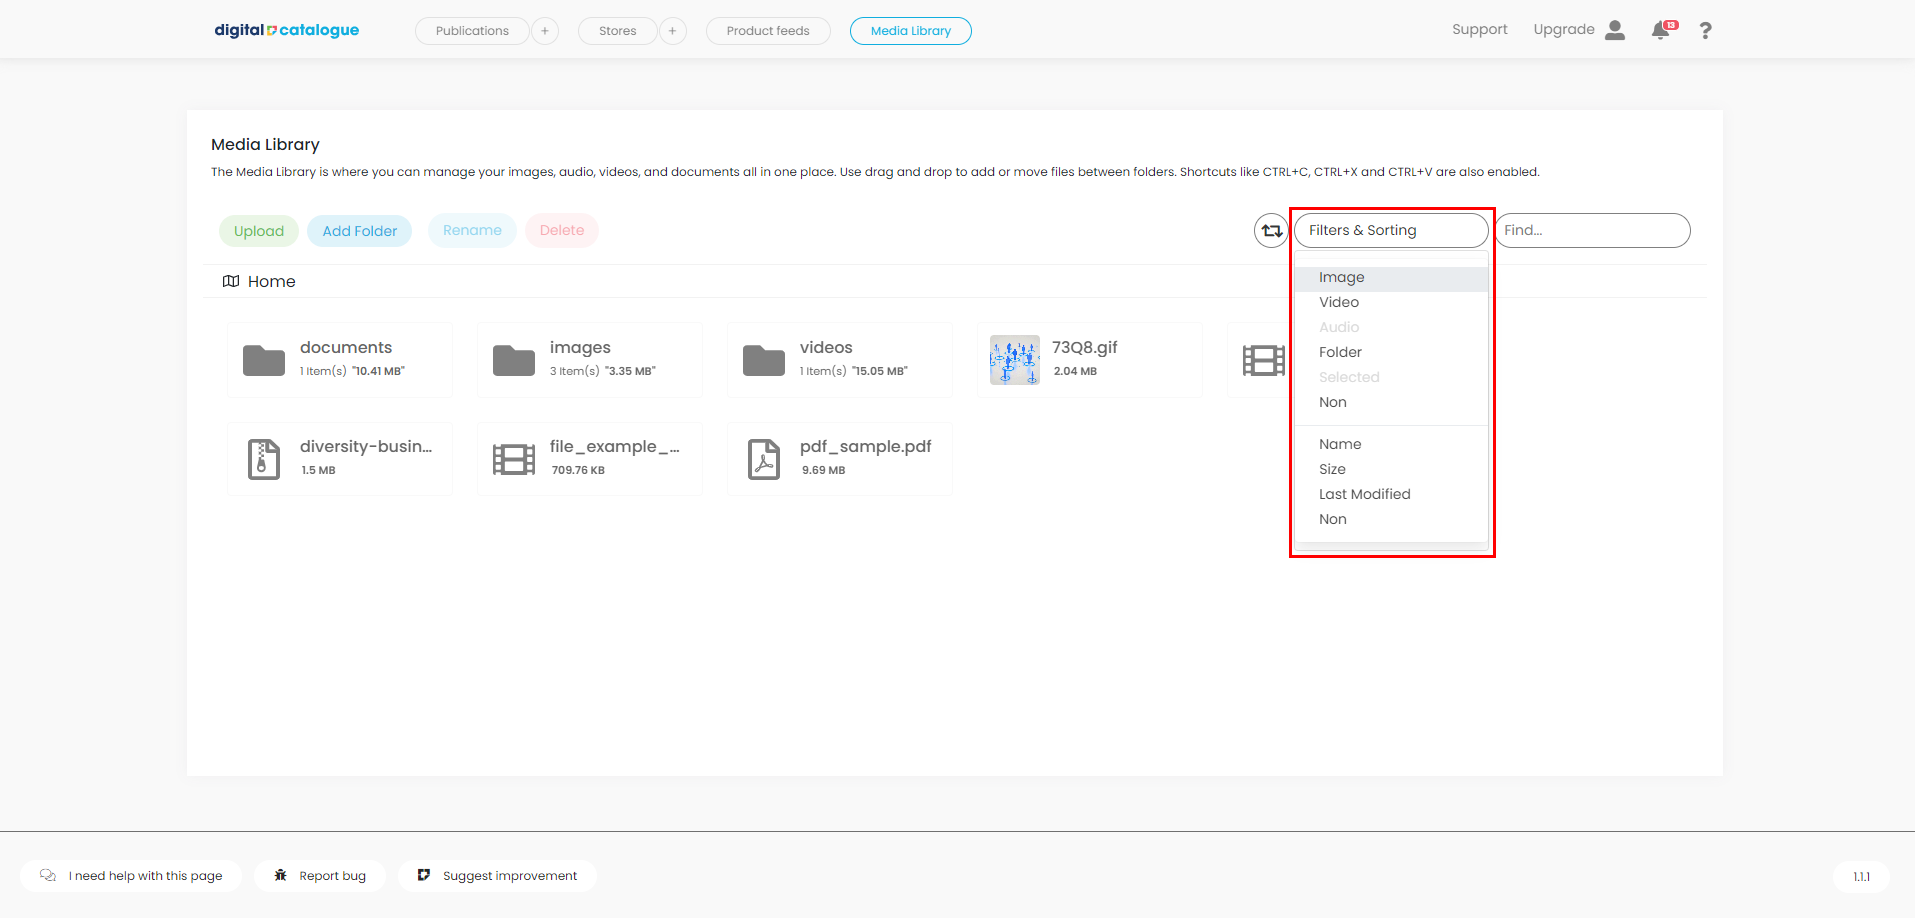
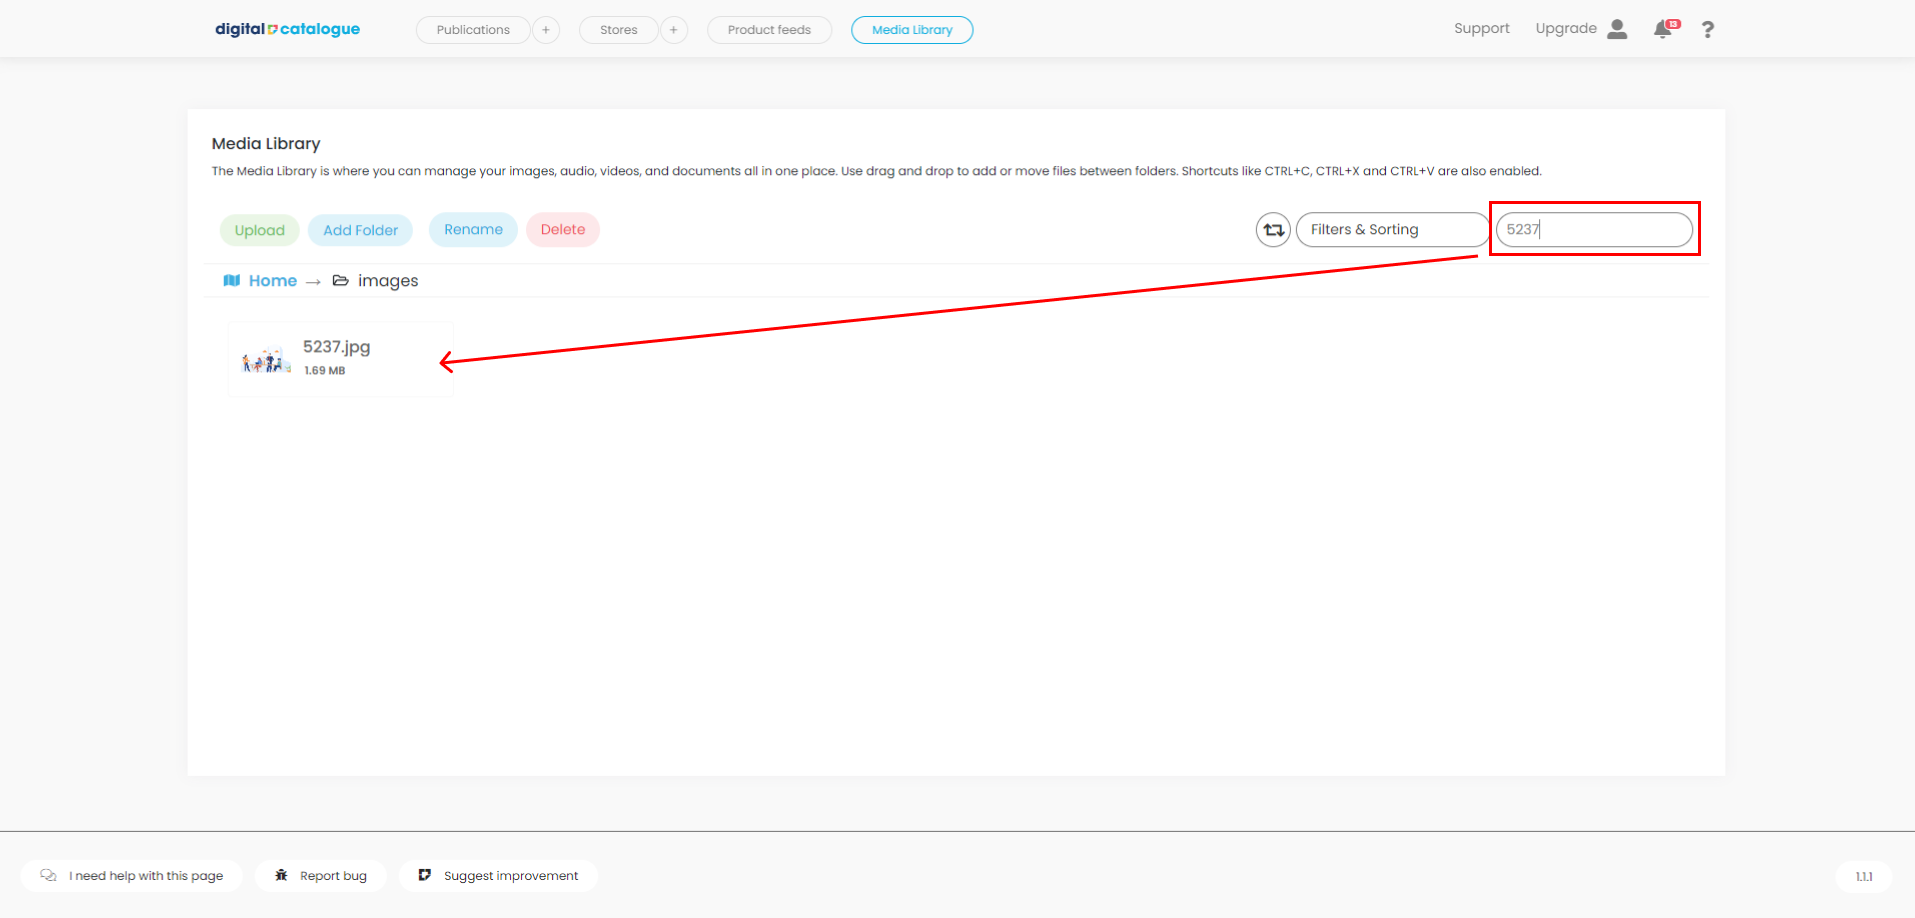
Once you've uploaded files to your Media Library, to keep your library organized, you can perform various actions including renaming or deleting files and folders. Additionally, you can leverage the search and filter functionalities to quickly locate specific files, ensuring efficient management of your media assets.
2. Upload files from your computer in the Links and Media section.
If you're working on a Digital Catalogue and need to add new content to the Media Library, you can easily do so within the Editor. Simply access the Media Library popup and select your desired folder to upload the file. Once uploaded, the file will automatically synchronize with the Media Library.

What type of files can you store in your Media Library?
- Images: JPG, JPEG, PNG, SVG and GIF.
- Videos: MP4, MOV, WMV, AVI, WEBM and others
- Audio files: MP3, WAV, OGG and others
- ZIP files
- PDF documents
Each file type has a predefined size limit. Alerts will notify you if a file exceeds the allowed size, ensuring better performance and smoother media management.
- Sound files (MP3, WAV, OGG, etc.): 5 MB
- PDF files: 20 MB
- ZIP files: 20 MB
- Video files (MP4, MOV, WMV, AVI, WEBM, etc.): 50 MB
- GIF files: 7.5 MB
- Image files (JPG, JPEG, PNG, SVG): 1 MB
How much content can you store?
You can store as many files as you want, but keep in mind the overall limit from your licence plan. If you need more storage you can always contact our team.
