Build your first Digital Catalogue
Upload an existing PDF file to create your first interactive digital catalogue, to boost your brand and drive sales.
To create your first interactive Digital Catalogue and enhance your brand while driving sales, simply upload your existing PDF file.
If you are new to Digital Catalogue, you will be directed to our homepage where you can easily upload your PDF file and get started.
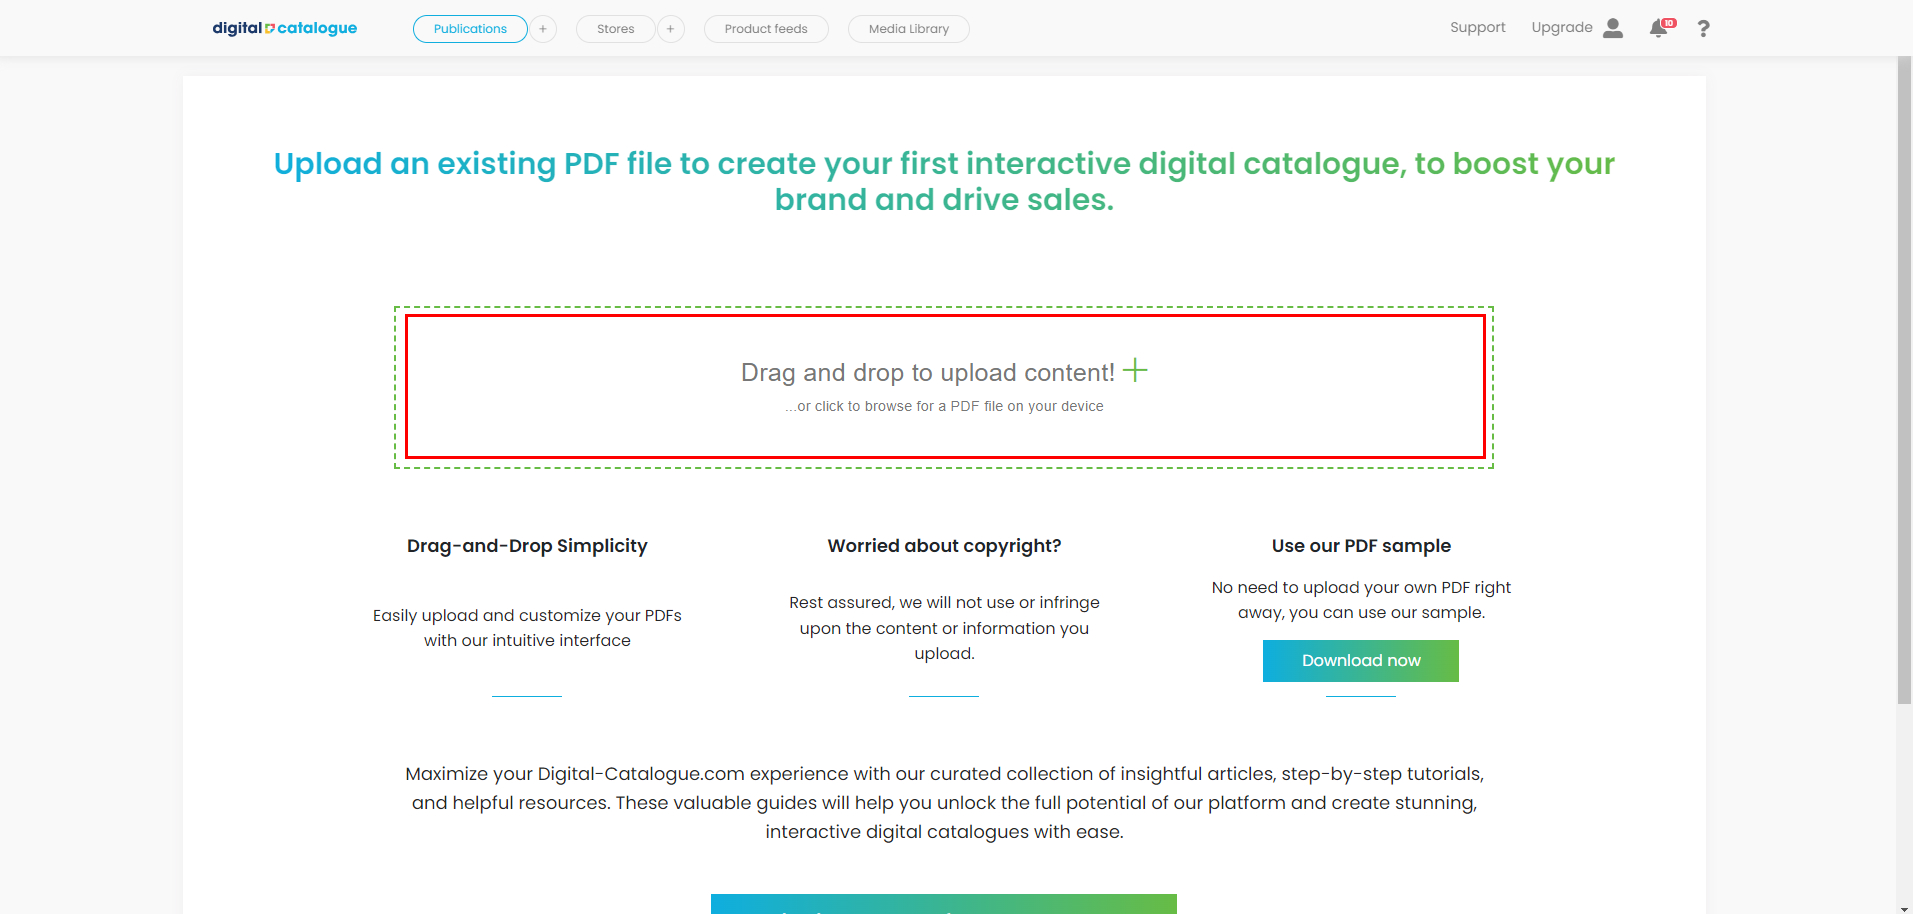
Before uploading your PDF file, we recommend checking out our PDF tutorials available here. These tutorials provide helpful insights on optimizing your PDF for the best results.
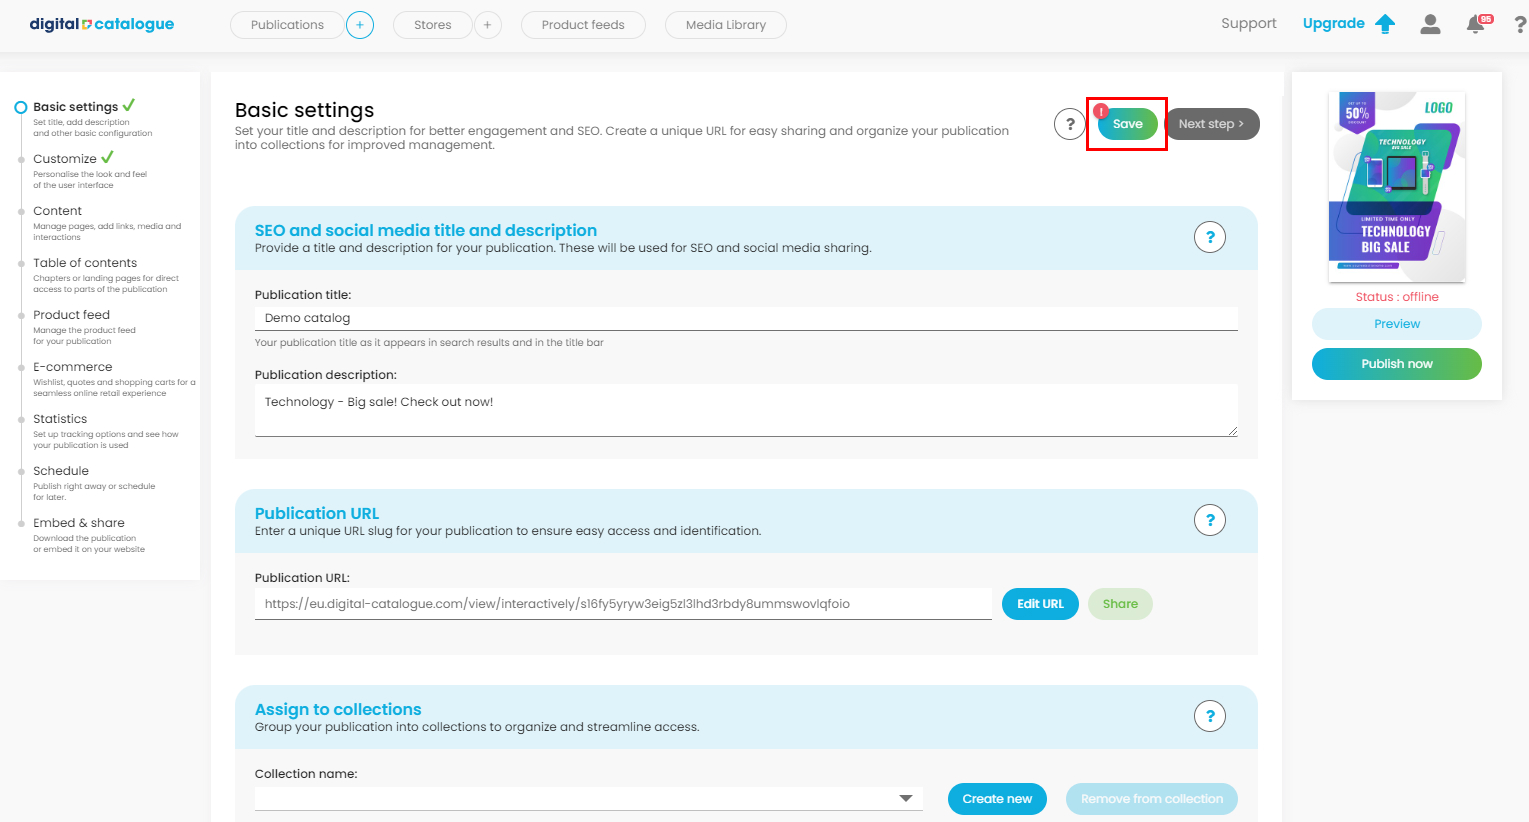
After uploading your PDF, you will be redirected to the Basic Settings page, where you can begin configuring your Digital Catalogue.
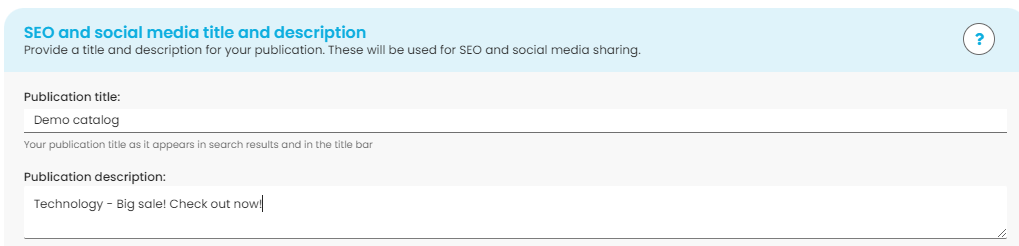
1) Configure your publication by adding a compelling Title and Description. A well-crafted title and description enhance user understanding and improve search engine visibility. Your title will appear at the top of the browser tab or window, while search engine results will display bold, hyperlinked text for your website title. In addition, the title and the description will be visible when sharing your publication on social media.
2) Set up a Publication URL. Make your Digital Catalogue URLs SEO friendly by removing the auto generated name at the end of the link. We will take care of necessary redirects. Enter a unique URL slug for your publication to ensure easy access and identification.
Click on Edit and insert your personalized name.

Click Confirm to update the URL.

3) Assign to collection to your Digital Catalogue. The collection feature helps you organize and find your catalogues easily. If you only have one digital publication, you can skip this step. Check out our tutorial for additional details.

4) Make sure you save your changes.
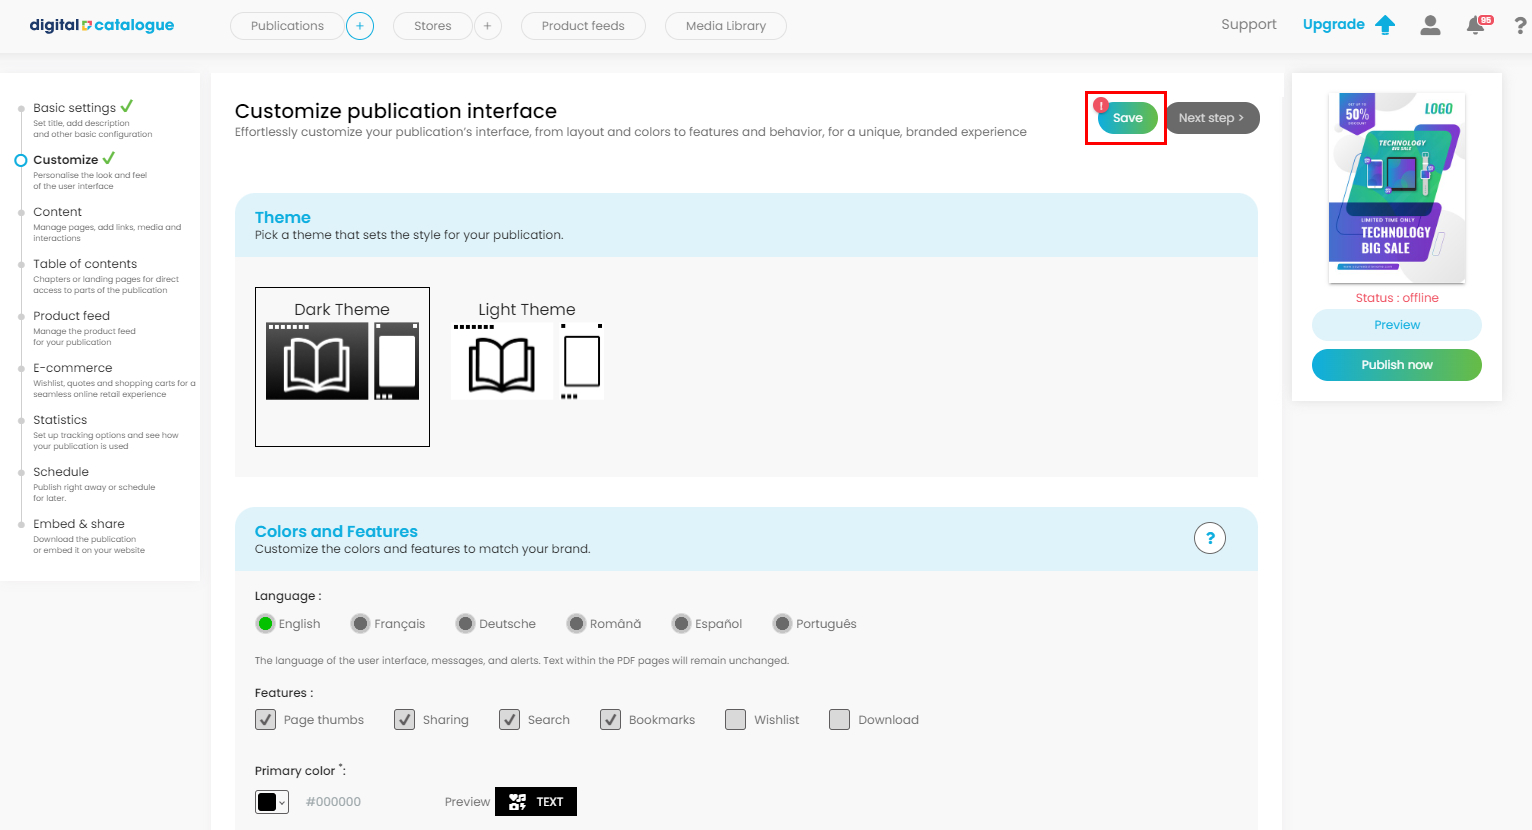
Move to the second section from the left-side panel and start customizing your publication interface.
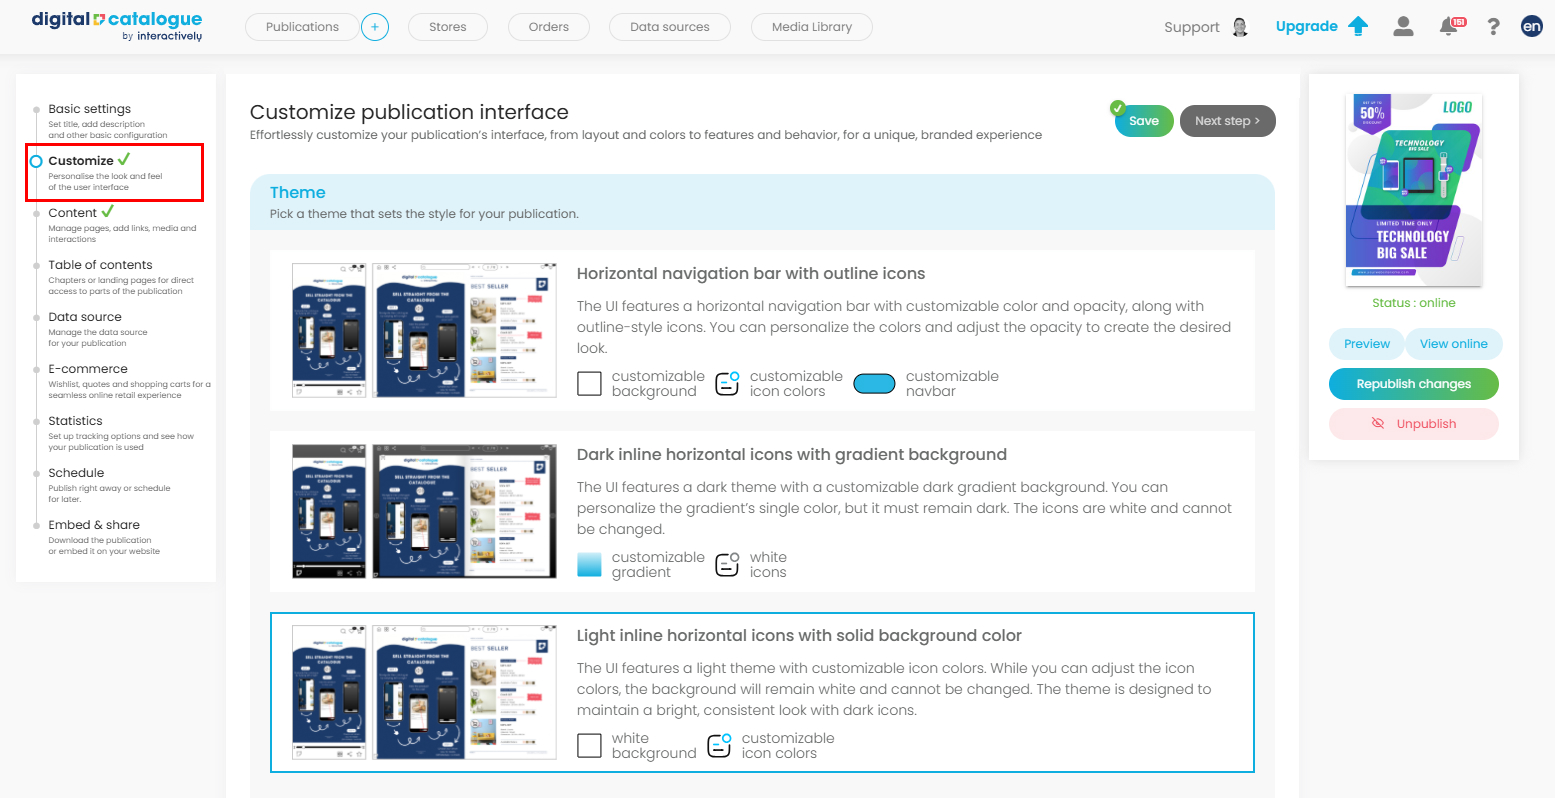
1) Set up the theme, depending on what better suits your pdf design.
Three themes are available:
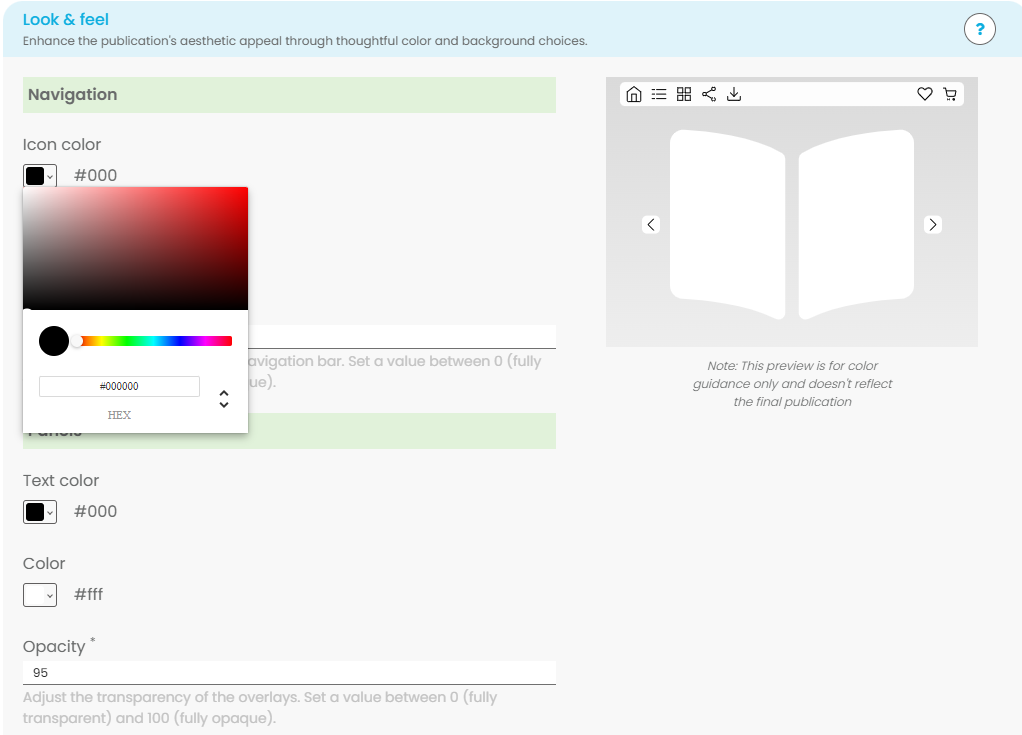
- Horizontal navigation bar with outline icons - The UI features a horizontal navigation bar with customizable color and opacity, along with outline-style icons. You can personalize the colors and adjust the opacity to create the desired look.

In the Look & feel section you can enhance the publication's aesthetic appeal through thoughtful color and background choices.
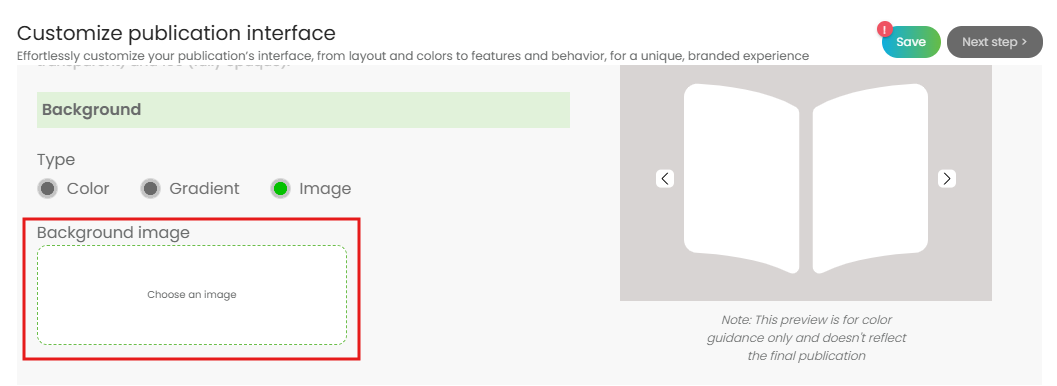
To add a background image, upload it to the Media Library, then select Choose Image in the designated field.
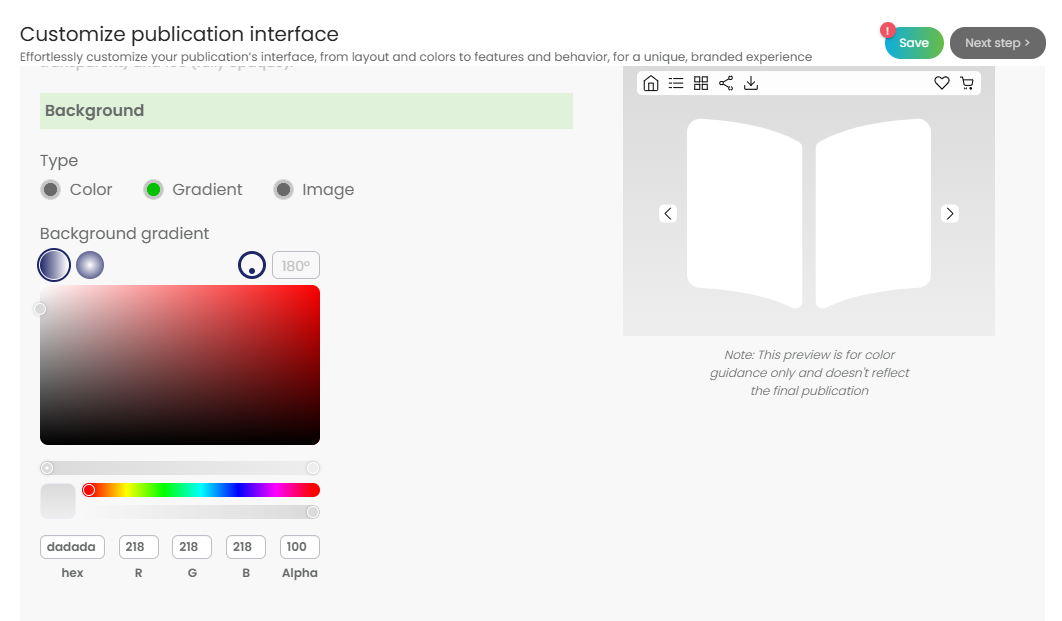
- Dark inline horizontal icons with gradient background - The UI features a dark theme with a customizable dark gradient background. You can personalize the gradient’s single color, but it must remain dark. The icons are white and cannot be changed.

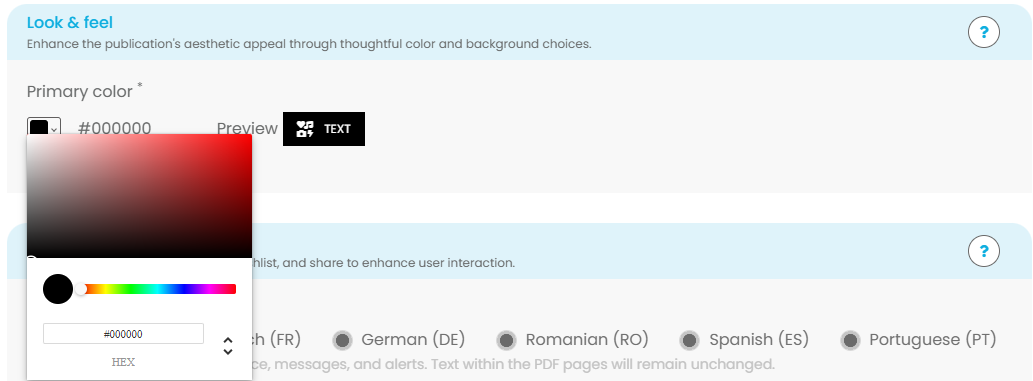
- Light inline horizontal icons with solid background color - The UI features a light theme with customizable icon colors. While you can adjust the icon colors, the background will remain white and cannot be changed. The theme is designed to maintain a bright, consistent look with dark icons.


2) Manage tools like download, print, wishlist, and share to enhance user interaction in the Interactive features section.
- Generate Hotspots Automatically
This setting allows you to enable or disable the automatic generation of hotspots.- Off: Hotspots will not be generated automatically; you’ll need to create them manually.
- On: The system will automatically generate hotspots based on references in the content.
- Autogeneration: References are split between words
Enable this if references are divided between two words (e.g., if part of a reference appears at the end of one word and the rest at the beginning of the next).
This ensures that the reference is correctly recognized and linked as a single entity. - Autogeneration: Group References
Enable this to automatically group references that are close to each other or share the same Group ID.
This helps in cases where multiple references should be treated as a single entity instead of separate hotspots. - Autogeneration: Maximum distance between grouped words
Defines the maximum distance allowed between words for them to be grouped automatically.
If two words are within X% of the page width, they will be grouped together as part of the same reference. - The feature "Related publications" allows you to group all related publications into one collection. Once grouped, users can seamlessly navigate between them via a shortcut menu displayed on the right side of the publication interface.

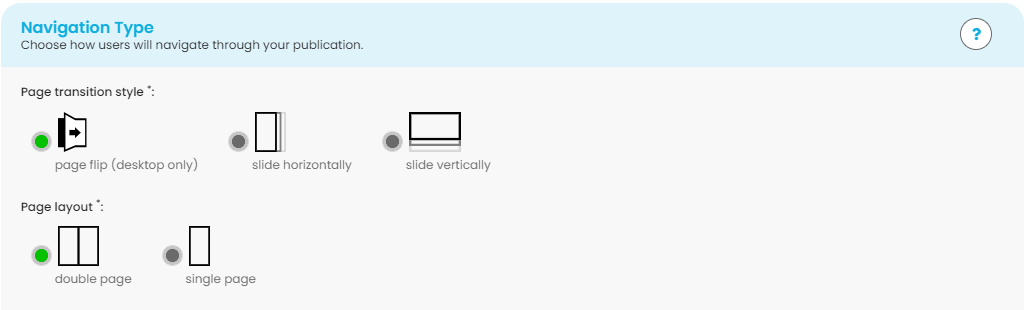
3) Configure your Navigation type to determine how your clients will navigate through your Digital Catalogue. Choose between flipping or sliding motions, and decide whether pages will be displayed as single pages or spread pages. Experiment with different options to find the navigation style that best complements your catalogue.
4) Make sure you save your changes.
Your publication is now configured and you are ready to take the next steps. Enhance your Digital Catalogue by adding a table of contents, incorporating links and media, and finally, publishing it. For detailed instructions on each of these steps, make sure to visit our tutorials section.
To upload another Digital Catalogue, simply click on the plus icon in the menubar and follow the same steps as before.
![]()