How to create or upload your Data Source
The data source is the place where the product information comes from.
The Data Sources section is available on the top menu.
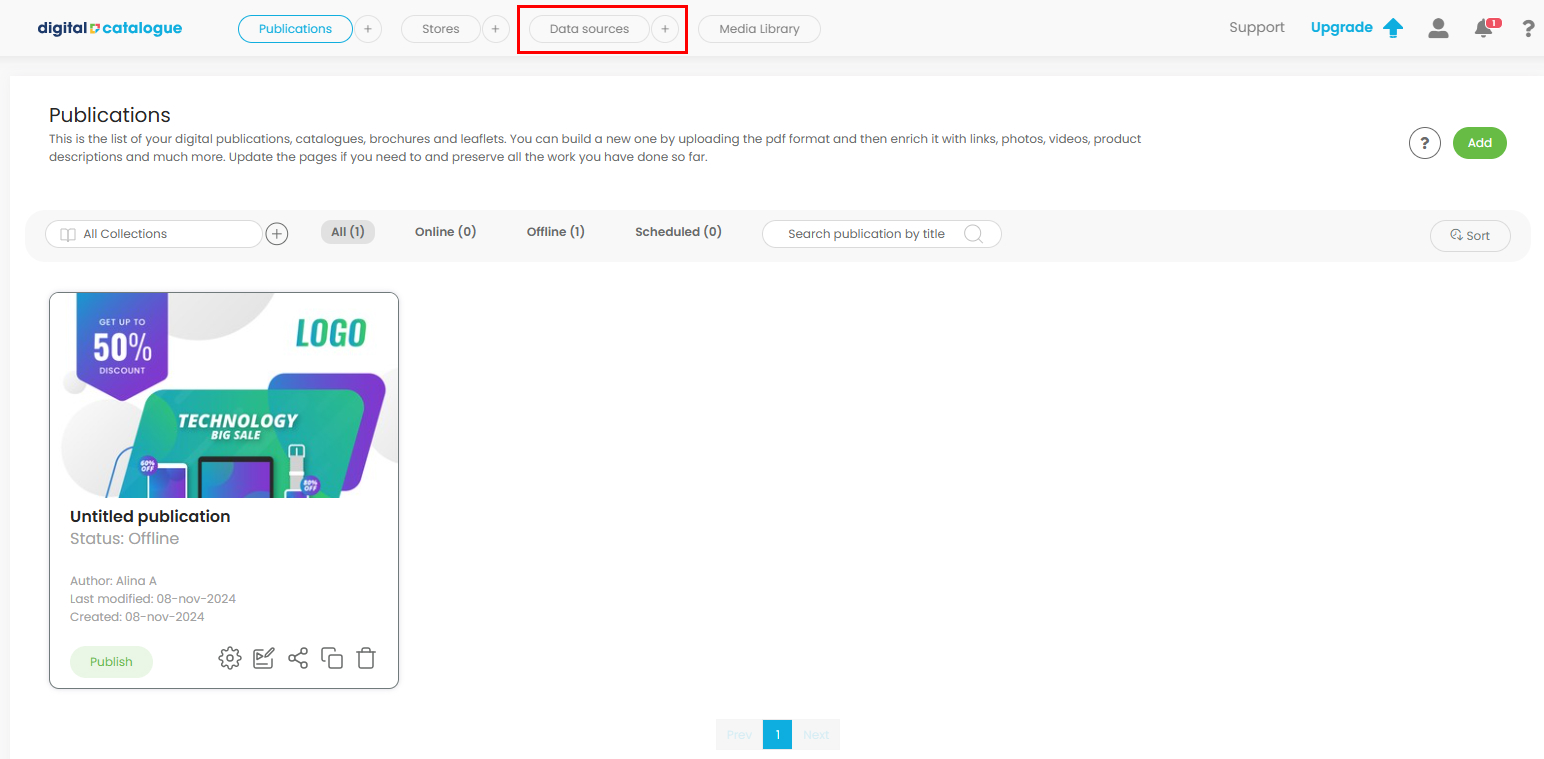
In our new, enhanced section you have the possibility to create a data source from scratch or to upload an already existing CSV feed file.
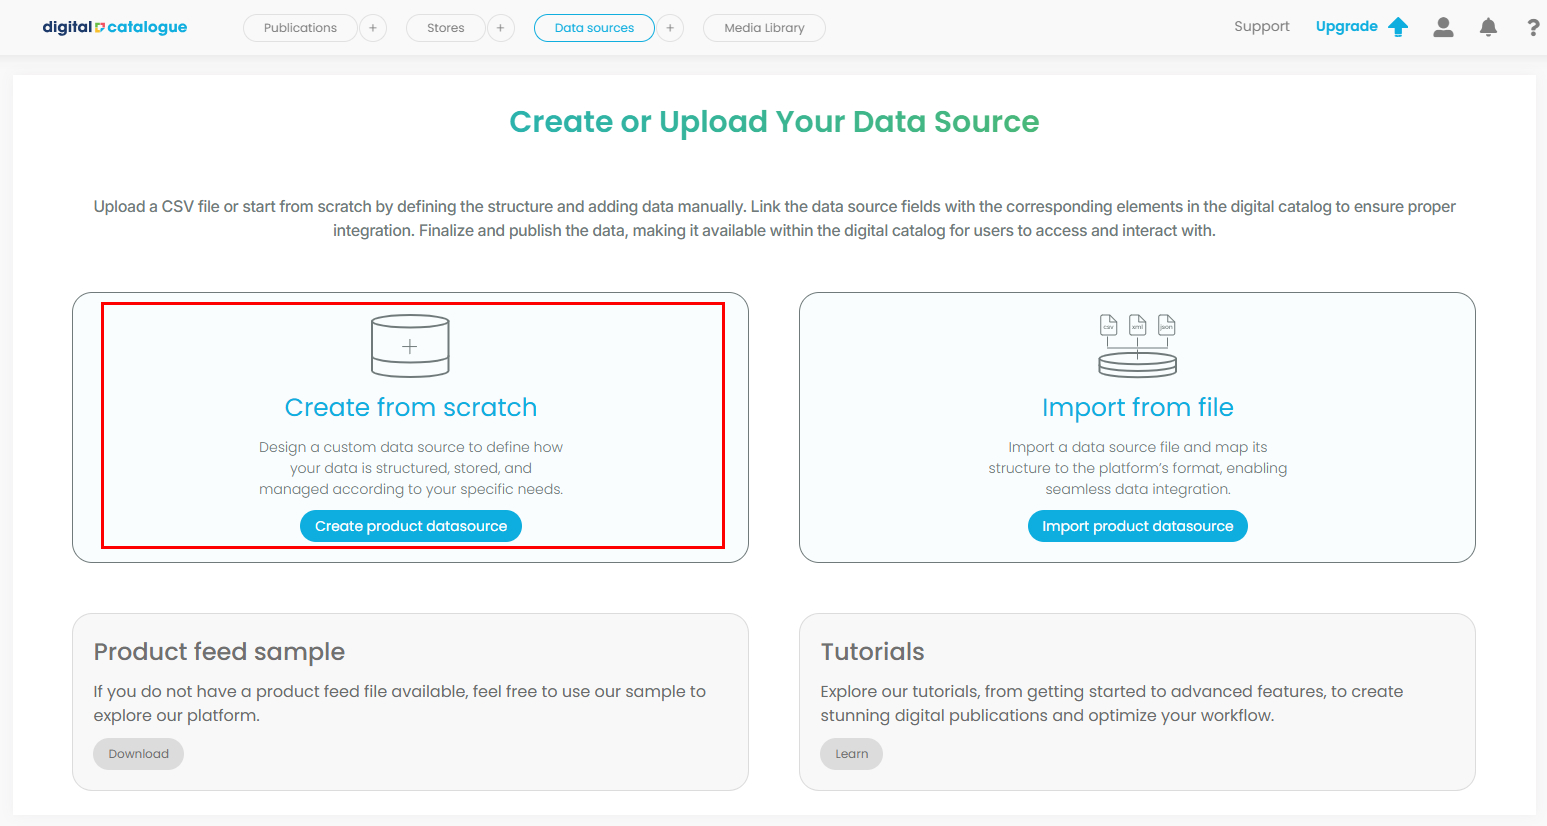
1. Create from scratch
Creating a data source from scratch is ideal if you don't already have a product database. It allows you to build one specifically suited to your needs from the ground up.
- Step 1 - click on "Create from scratch" card on the left side and start configuring your data source.
- Step 2 - set the data source name, description, currency preferences, and additional configuration options. When everything is ready, click on "Create" button.

All item marked with an asterisk (*) are mandatory
- Name
-
Currency
-
Currency format
Wait a few seconds for the data to process. Once it’s ready, you will be redirected to the next step, where you can manually add items in your feed.
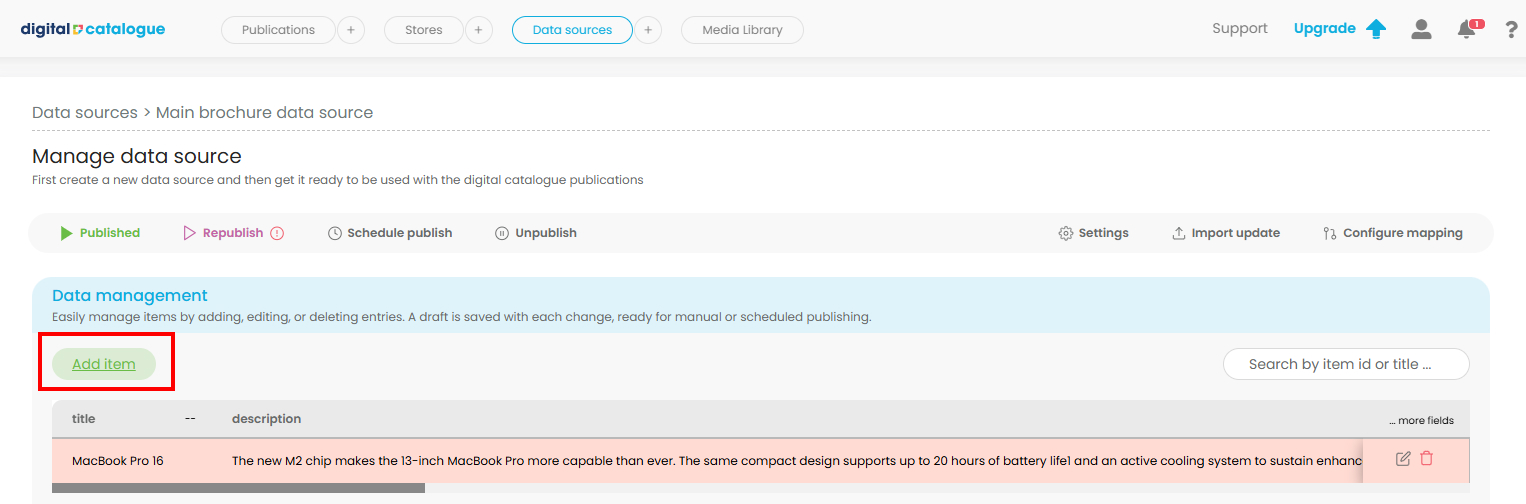
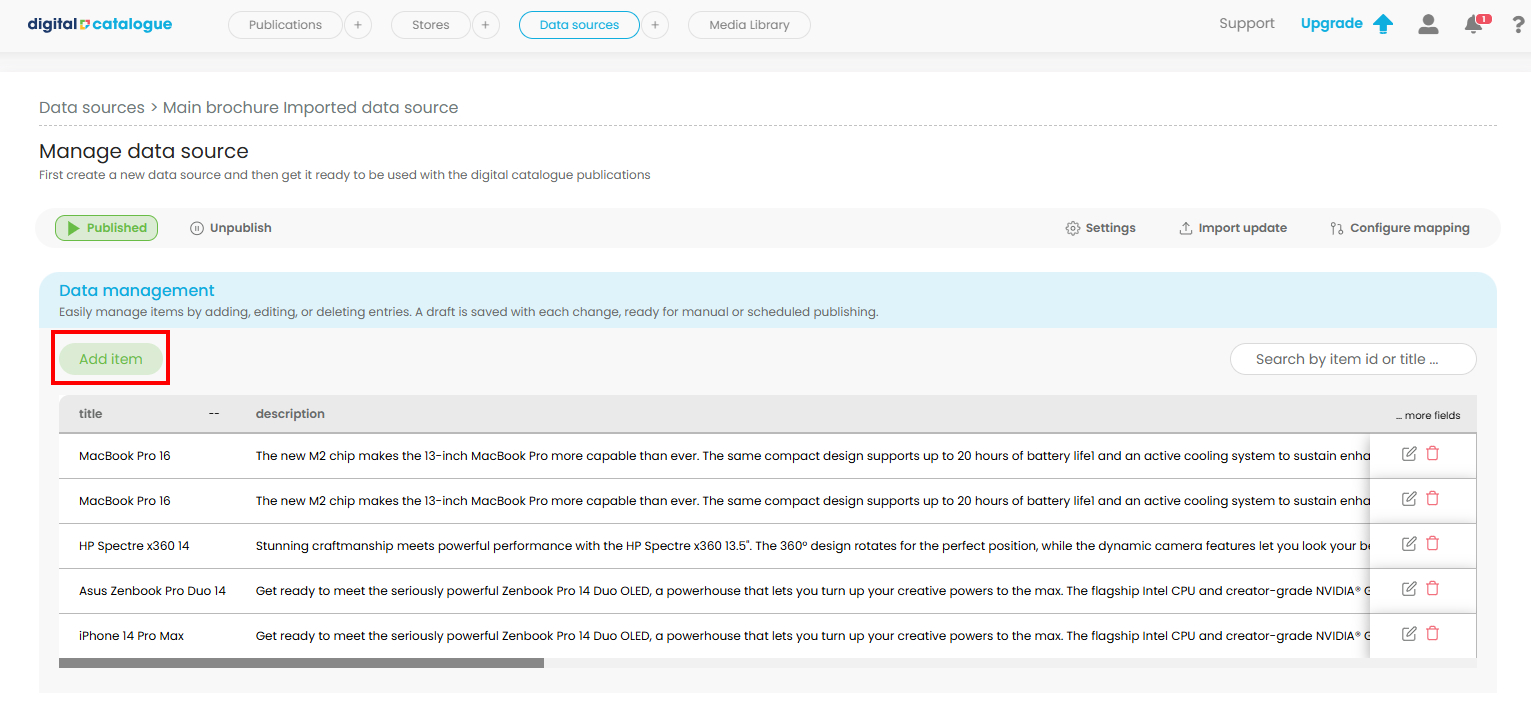
Step 3 - click on "Add item" and start managing and enhancing your data source by adding products for better inventory and sales tracking.

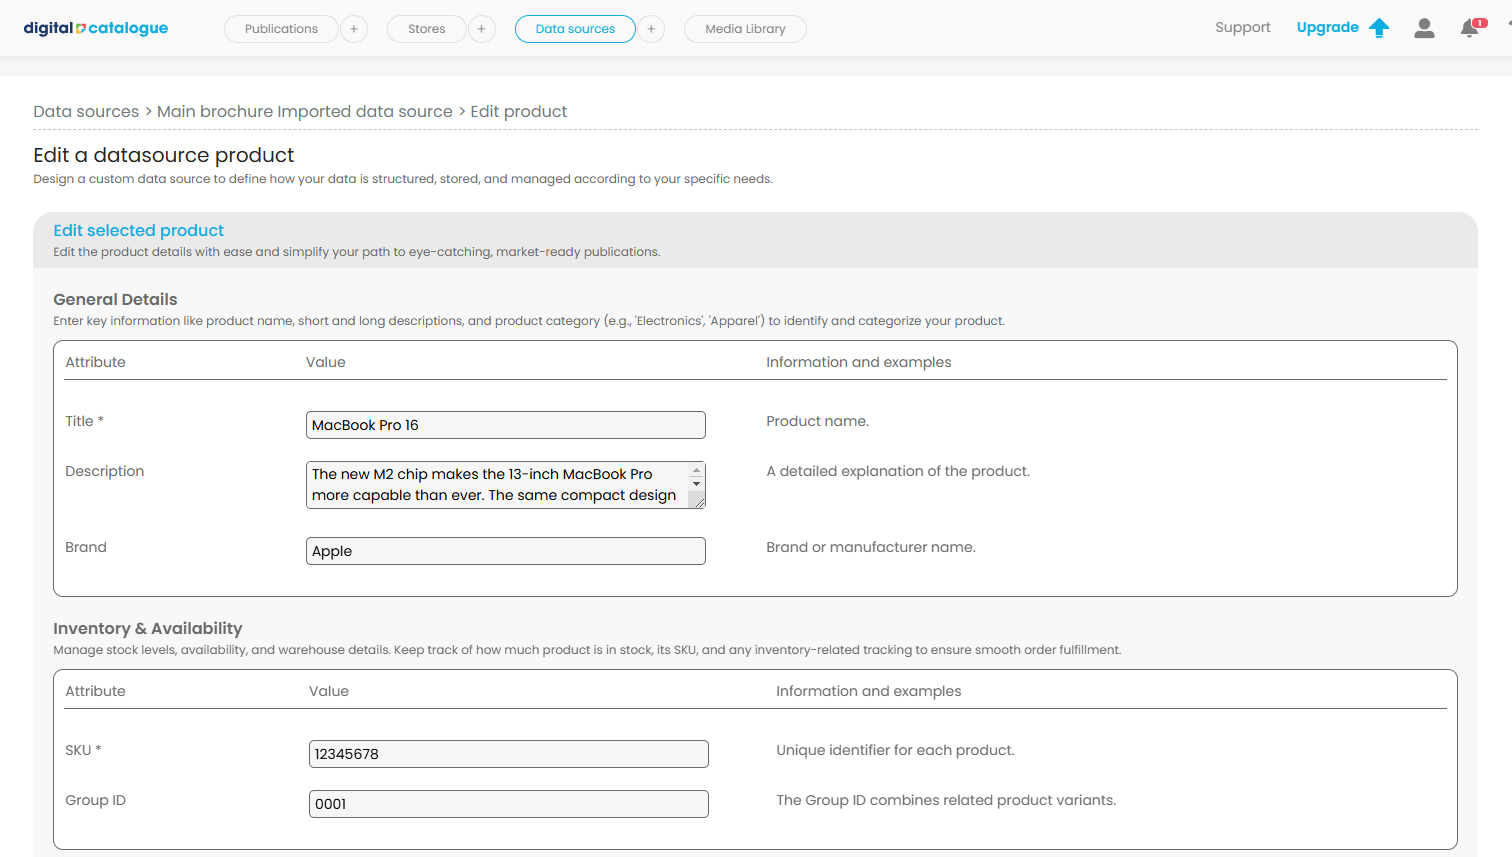
1. Add general details for your products such as product name, descriptions, and product category (e.g., 'Electronics', 'Apparel') to identify and categorize your product.

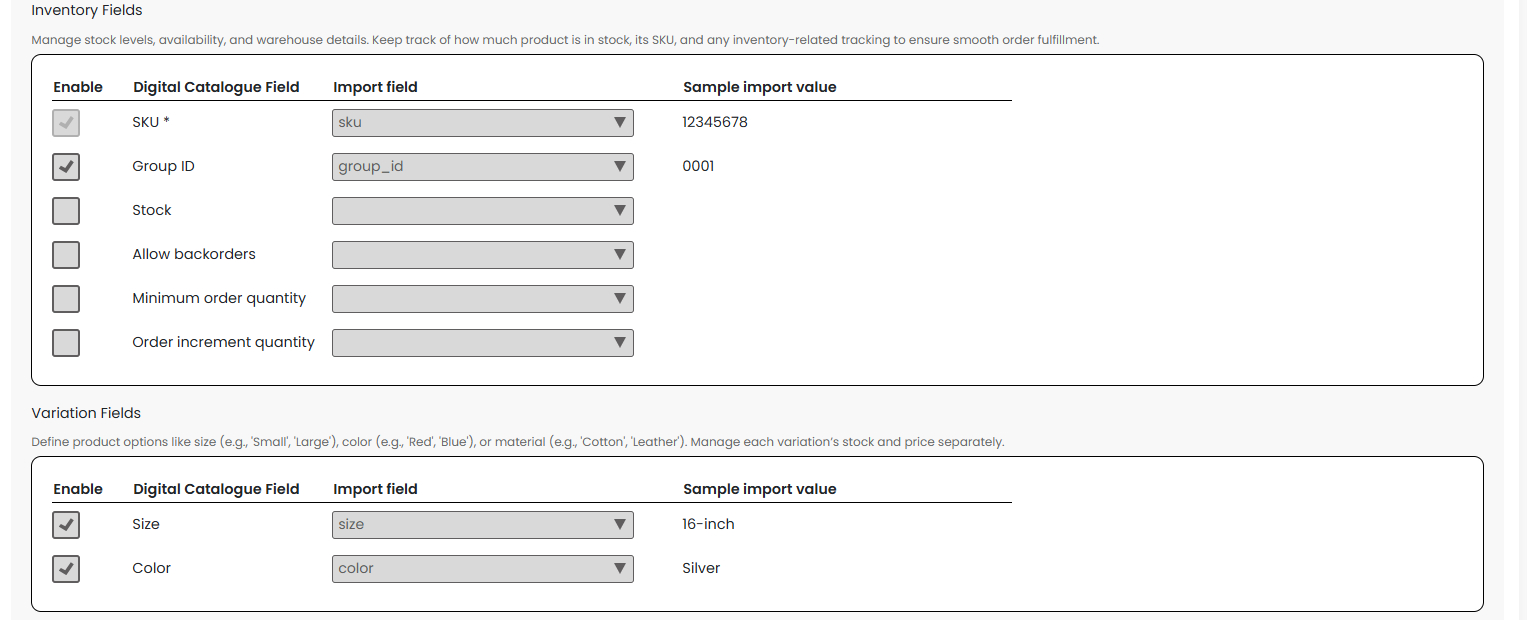
2. Add details related to inventory and availability. Manage stock levels, availability, and warehouse details. Keep track of how much product is in stock, its SKU, and any inventory-related tracking to ensure smooth order fulfillment.

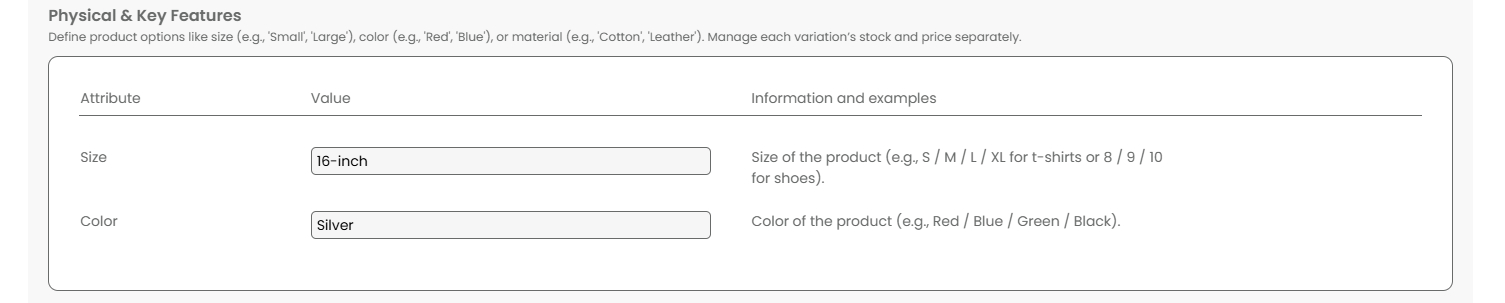
3. Add product options such as Color and Size. You can manage each variation’s stock and price separately.
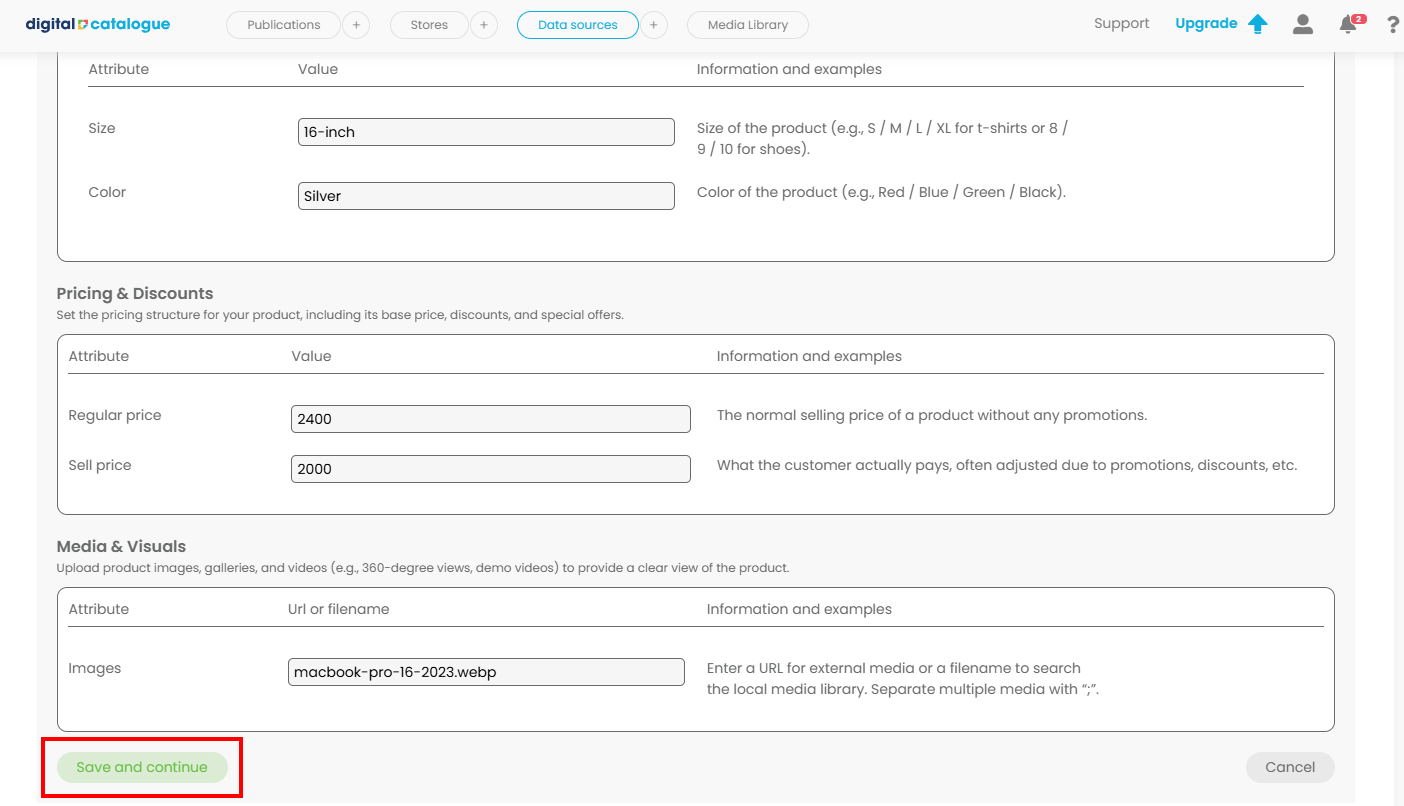
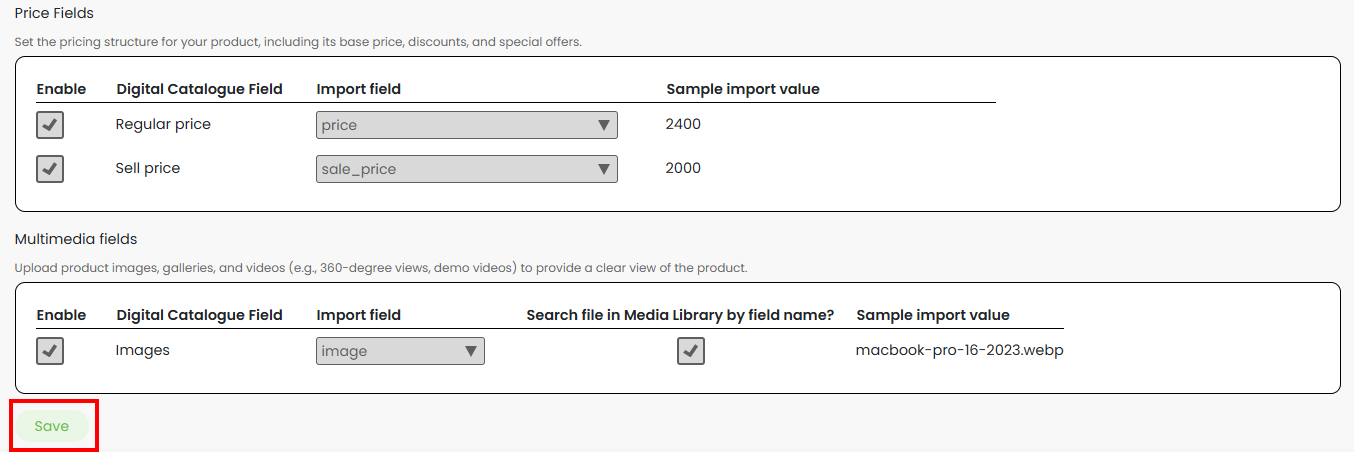
4. Set a sell price and a regular price for your product.

5. Upload product images, galleries, and videos (e.g., 360-degree views, demo videos) to provide a clear view of the product. You can either add a URL for external media or select a file already uploaded in the Media Library. If you choose a file from the Media Library, ensure you enter the exact file name.

You are now all set up. You can continue to the next step, Save your data and continue.
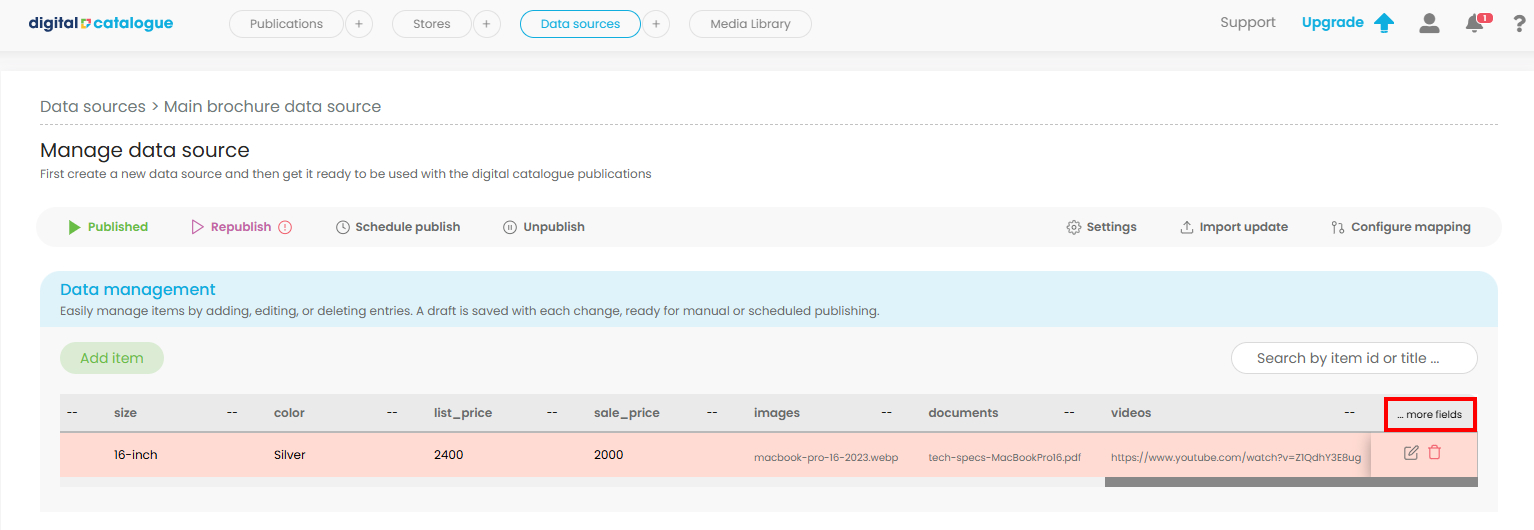
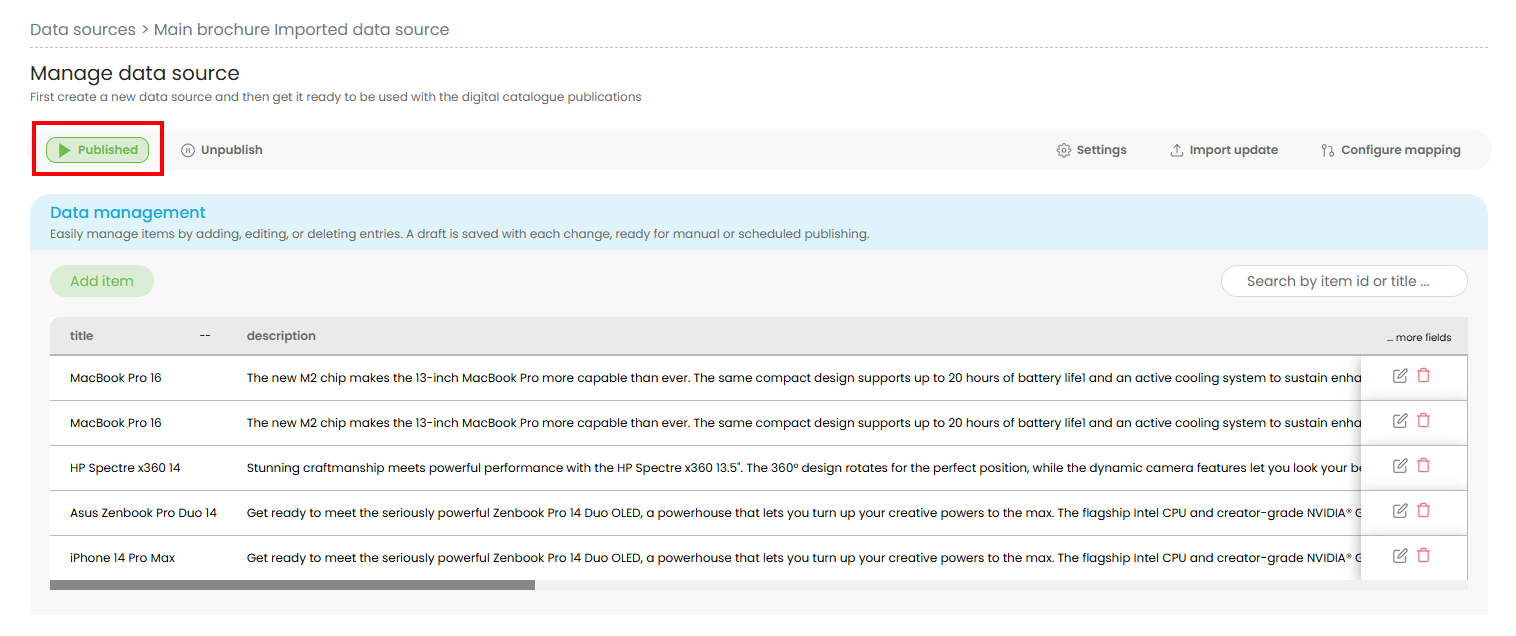
Wait a few seconds for the data to process. Once it’s ready, you’ll be redirected to the Data Source page you just created. Here, you’ll see the product item you added, along with all its details. At this point, you can:
- Add a new product by manually entering information into the input fields.
- Edit the details of existing products in the list.
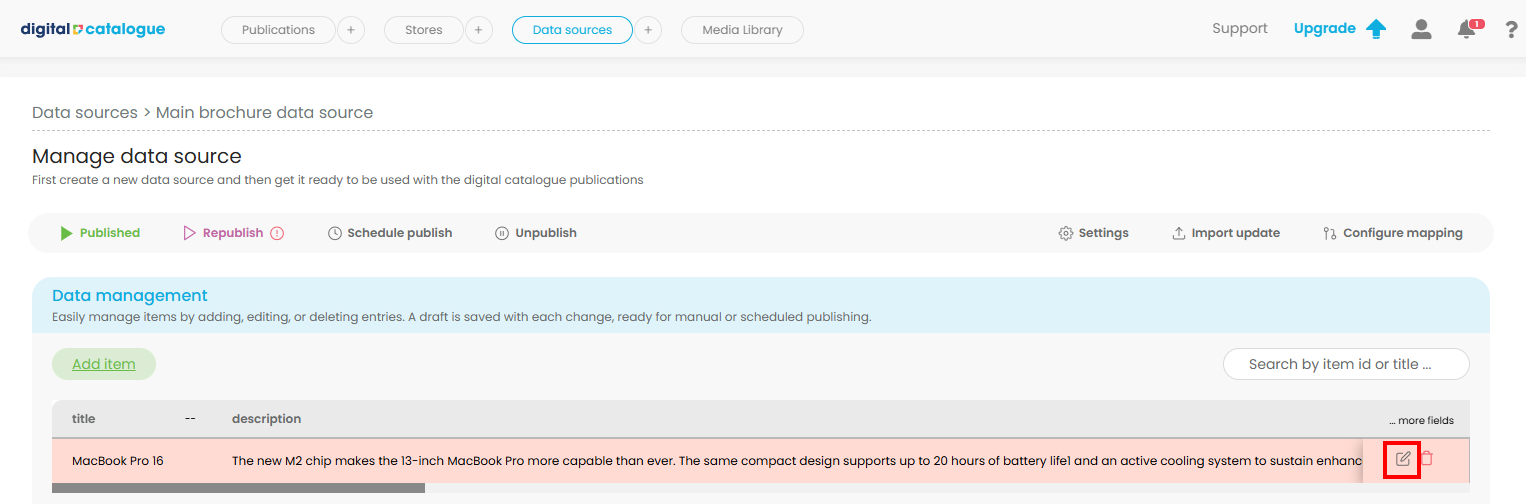
All you have to do is click on edit, then update the necessary inputs. Once you are ready, click Save and continue.

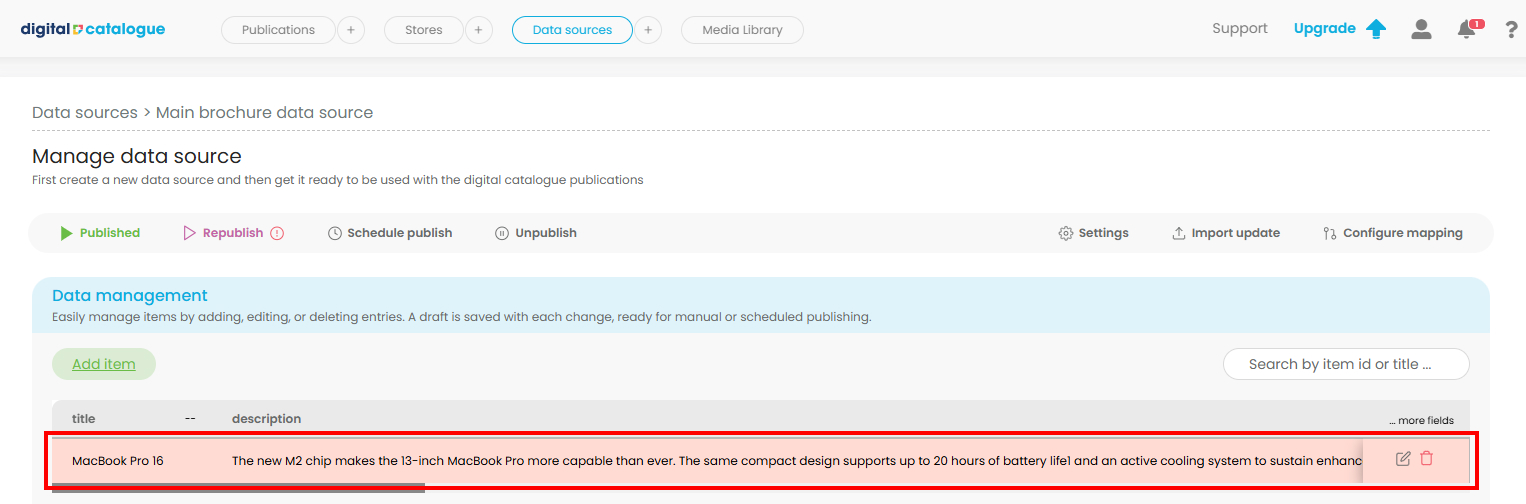
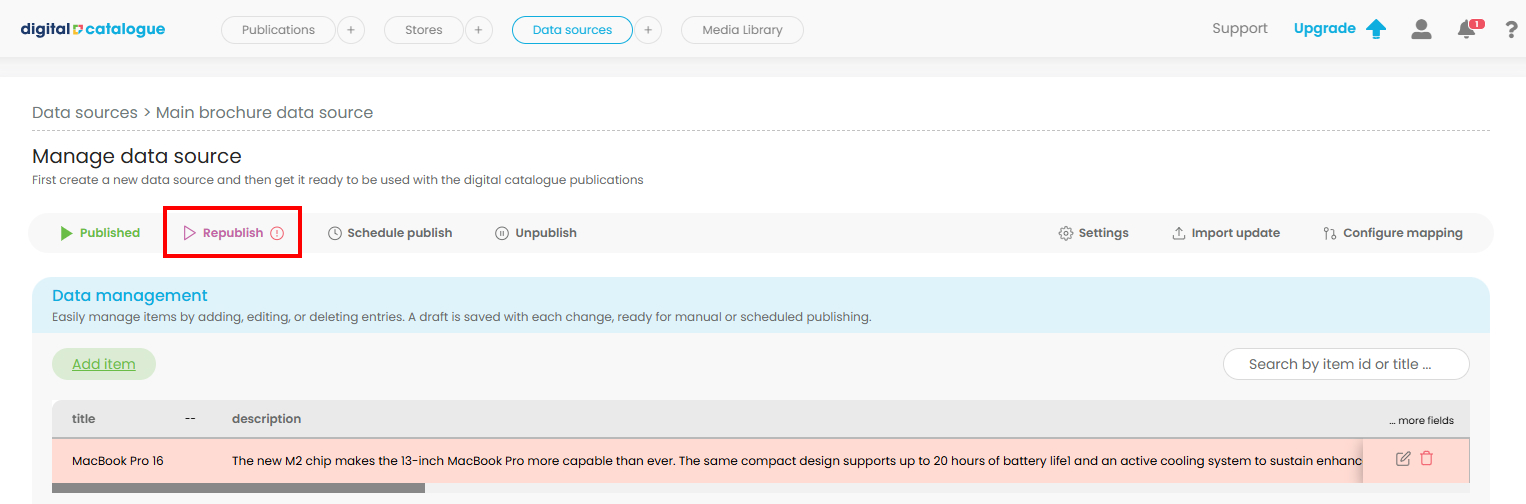
The new update will be highlighted in red, like below.
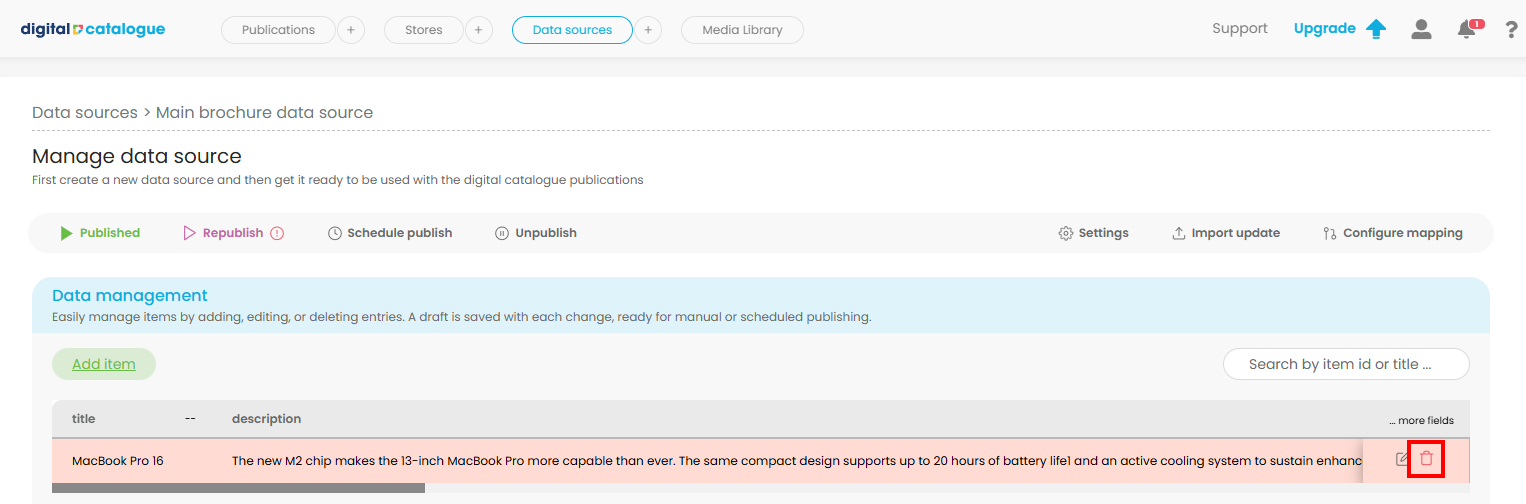
- Delete a product from the list if needed.
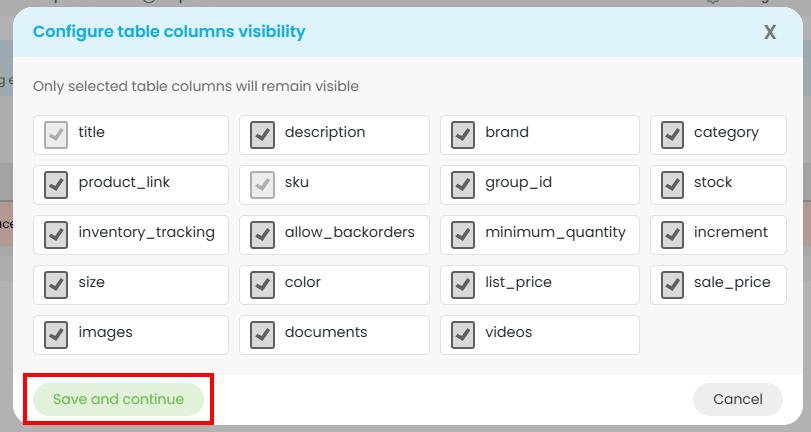
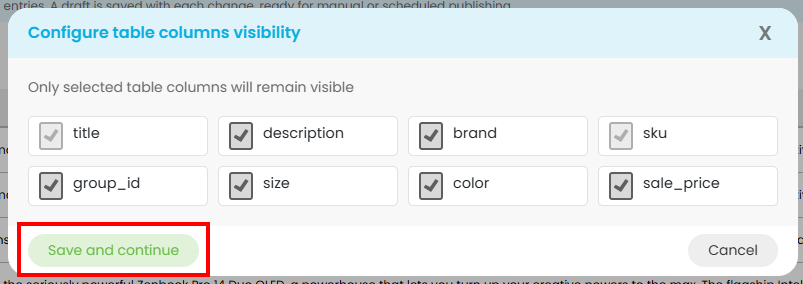
The "more Fields" option lets you control which table columns are visible, which is helpful if there are columns you don’t need in the preview. To adjust visibility, click "More Fields" on the right, select the columns you want to hide or show, and save your changes. This action only affects the preview view and does not impact the activation or deactivation of fields in the Configuration panel.
2. Import from file
Import a data source file and map its structure to the platform’s format, enabling seamless data integration. Additional details on the .CSV file configuration here.
- Step 1 - click on "Import from file" card on the right side and start configuring your data source.

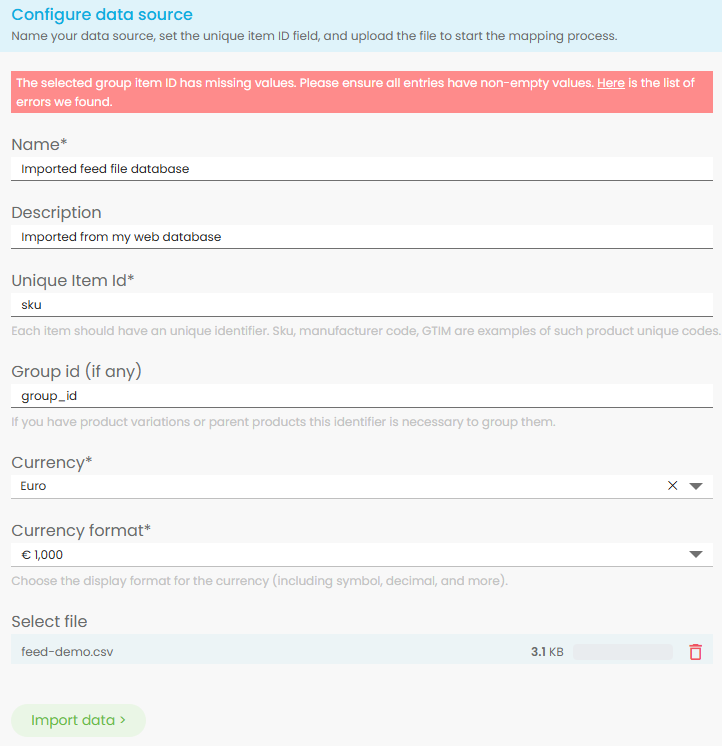
- Step 2 - set the data source name, description, currency preferences, and additional configuration options, then drag and drop the csv feed file you have available. When everything is ready, click on "Import data" button.

All item marked with an asterisk (*) are mandatory
-
- Name
- Unique Item Id (Eeach item should have an unique identifier. Sku, manufacturer code, GTIM are examples of such product unique codes.)
- Currency
- Currency format
"Group id" input should be filled in only if you have product variations or parent products. This identifier is necessary to group all of them in one product page inside your publication.
After you click "Import Data," the system may display errors highlighted in red. Please review these errors carefully and download the suggested file to help identify issues with your CSV file. Once you've corrected the file, delete the old version, upload the corrected file, and click “Import Data” again.
Wait a few seconds for the data to process. Once it’s ready, you will be redirected to the next step
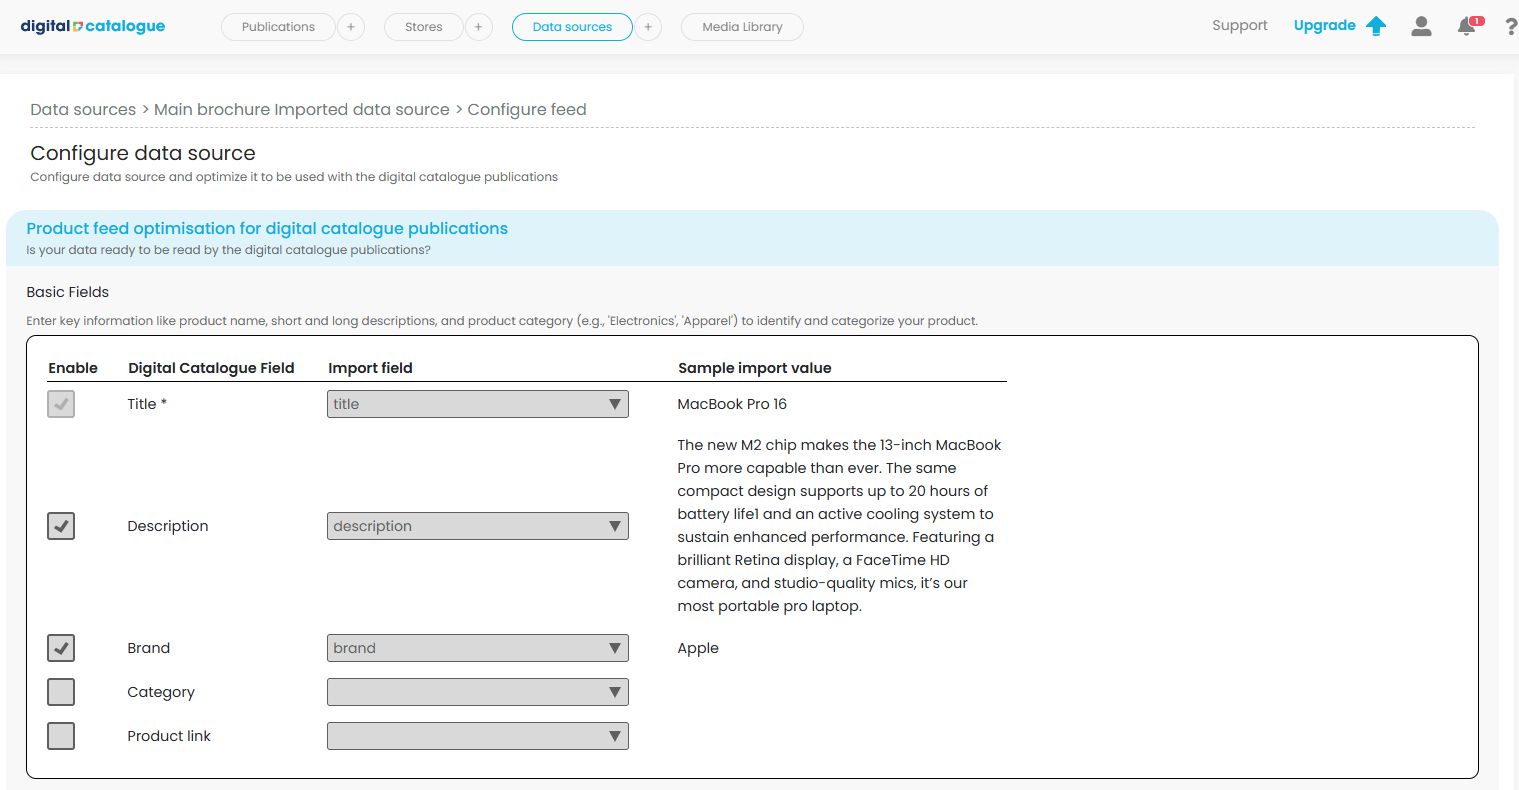
- Step 3 - After the data is imported, you'll be redirected to a preview page where you can review how the product information is mapped. Here, you can make adjustments by enabling fields and selecting the corresponding columns from your feed file. Once everything looks correct, save your changes to proceed to the next step.
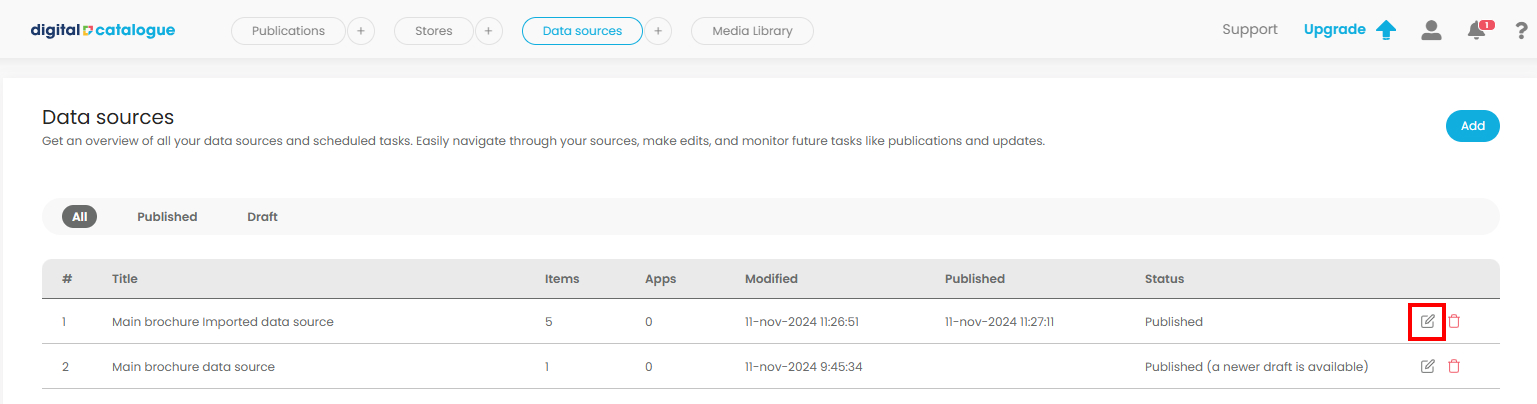
After setup, you’ll be redirected to the Data Source page, where you can either edit or delete the data source you just created. Clicking the "Edit" button will take you to the Product List, where you have several options:
- Add a new product by manually entering information into the input fields.
- Edit the details of existing products in the list.

All you have to do is click on edit, then update the necessary inputs. Once you are ready, click Save and continue.

The changes will be highlighted in red.

- Delete a product from the list if needed.

The "more Fields" option lets you control which table columns are visible, which is helpful if there are columns you don’t need in the preview. To adjust visibility, click "More Fields" on the right, select the columns you want to hide or show, and save your changes. This action only affects the preview view and does not impact the activation or deactivation of fields in the Configuration panel.

Additional information:
- A new data source is automatically set to Published.
- Publications rely on the data source for product information, so the data source must be connected to the publication to activate it.
- For a new brochure that isn’t live yet, just publishing the brochure itself will make all data go live, with no need to publish the feed separately. Just make sure the data source is connected to the specific publication.
- For a brochure that is already live, first connect the data source to the publication, then publish it as usual.
- The "Republish" button will push all new changes made to your data source to the live publication.
- The "Schedule Publish" option allows you to set a specific date and time for when the selected data source or any modifications made to it will go live.

- The option "Unpublish" removes the data source from the live publication and changes its status to "Draft".

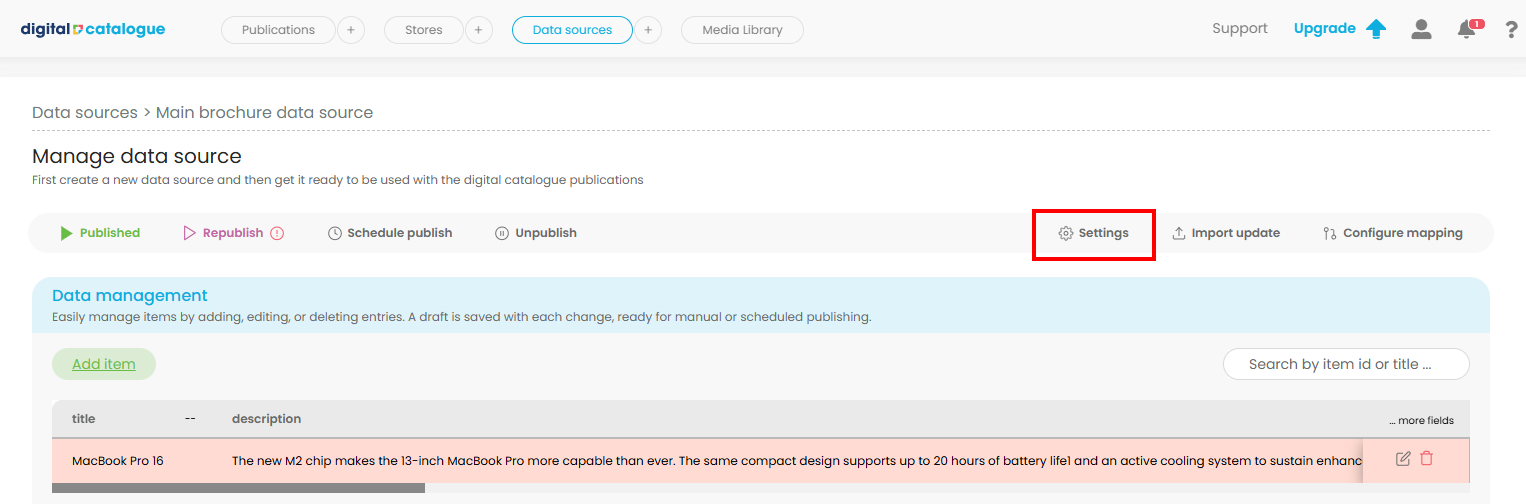
- The "Settings" option allows you to edit the data source settings and update details such as the Name, Description, Currency, and Currency format.
- Whether you are using a data source created from scratch or imported from a CSV feed file, you can update it by clicking the "Import Update" button in the menu.

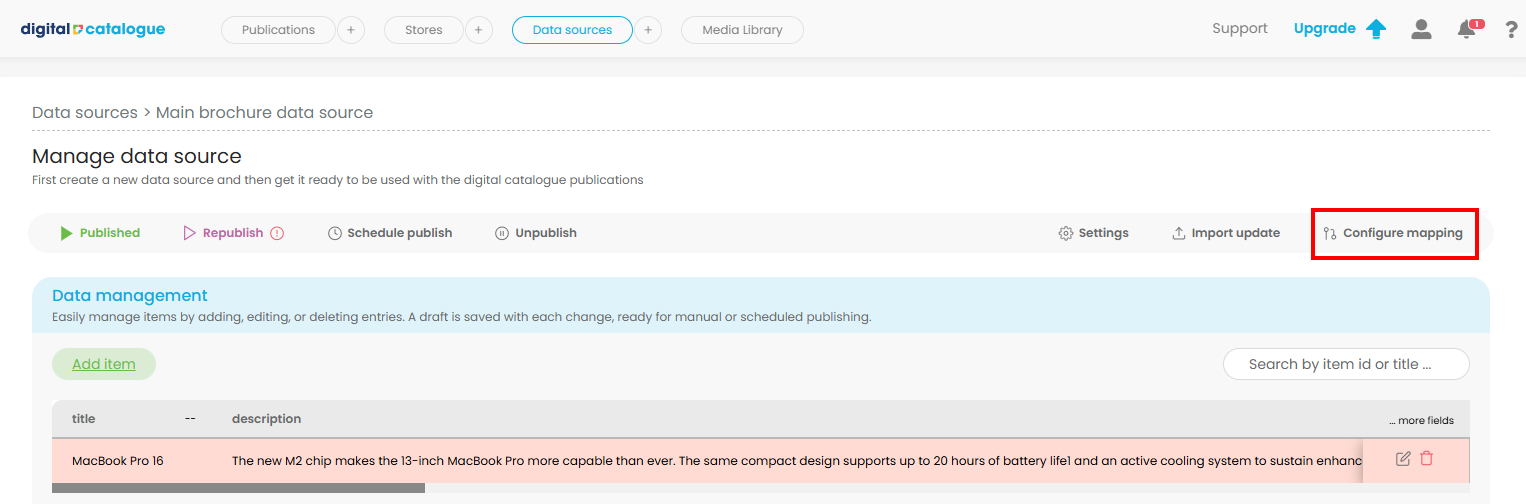
- In the "Configure Mapping" section, you can review the mapping details of your data source and make any necessary updates.
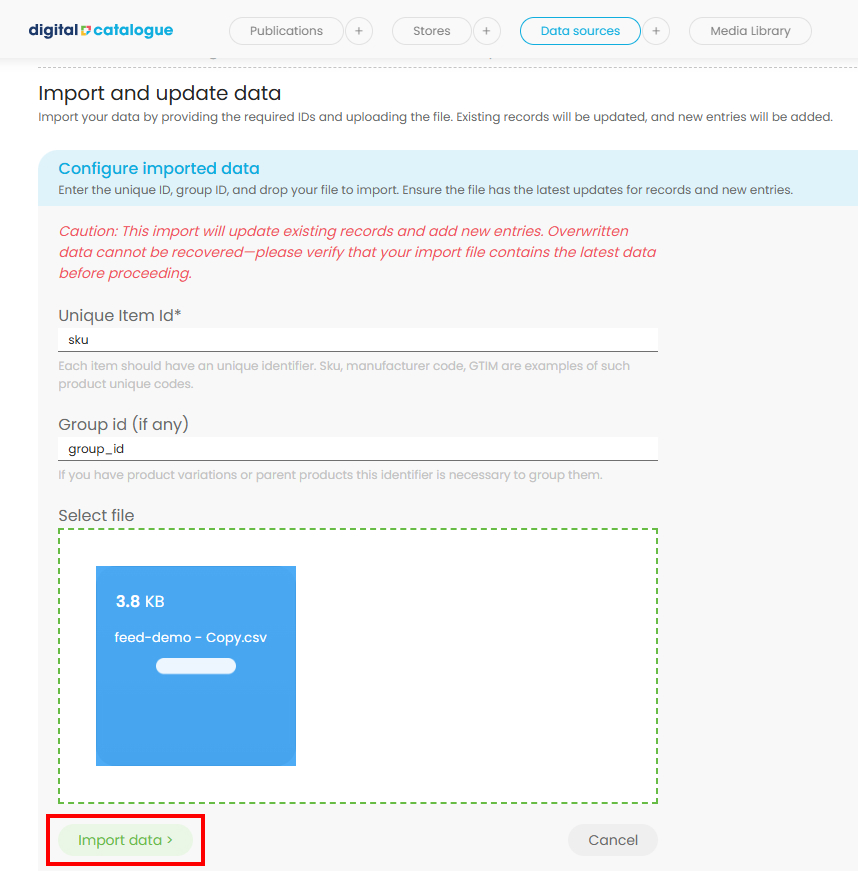
How to update your data source:
You can update your data source to add new products or modify existing ones. Please note that any overwritten data cannot be recovered, so make sure your import file contains the latest data before proceeding.
Click on the "Import update" from the menu, add your Unique Item Id (mandatory) and Group id (if any), then drag and drop the updated csv feed file.
Click on "Import data" to complete the process.
Wait a few seconds for the data to process. Once it's ready, you will be redirected to your Data Source page, where the newly added items and the ones that have been updated will be highlighted in red. You can then publish the update immediately (Republish) or schedule it for a later time (Schedule publish).
Check our tutorial here to see how you can connect the data source to your publication.